Starting a comic
Pick a size
Every comic is one of three sizes. You can change your mind later by starting a new project; a project doesn't switch sizes after it's created.
| Mode | Limit | Best for |
|---|---|---|
| Quick One-Off | 1 page | One illustration, strip, poster, meme, or short animation. |
| Quick Short Story | Up to 10 pages | A complete, bounded story across several panels or pages. |
| Book | Up to 200 pages | Chapters, a continuing cast, and long-form versions. |
All three open the same editor afterward, so the size only changes how much the plan covers up front.
Way 1: the guided wizard
The wizard at /onboarding is the easiest way in if you're starting from the Comics home page. It works even before you sign in; you're only asked to sign in at the very end.
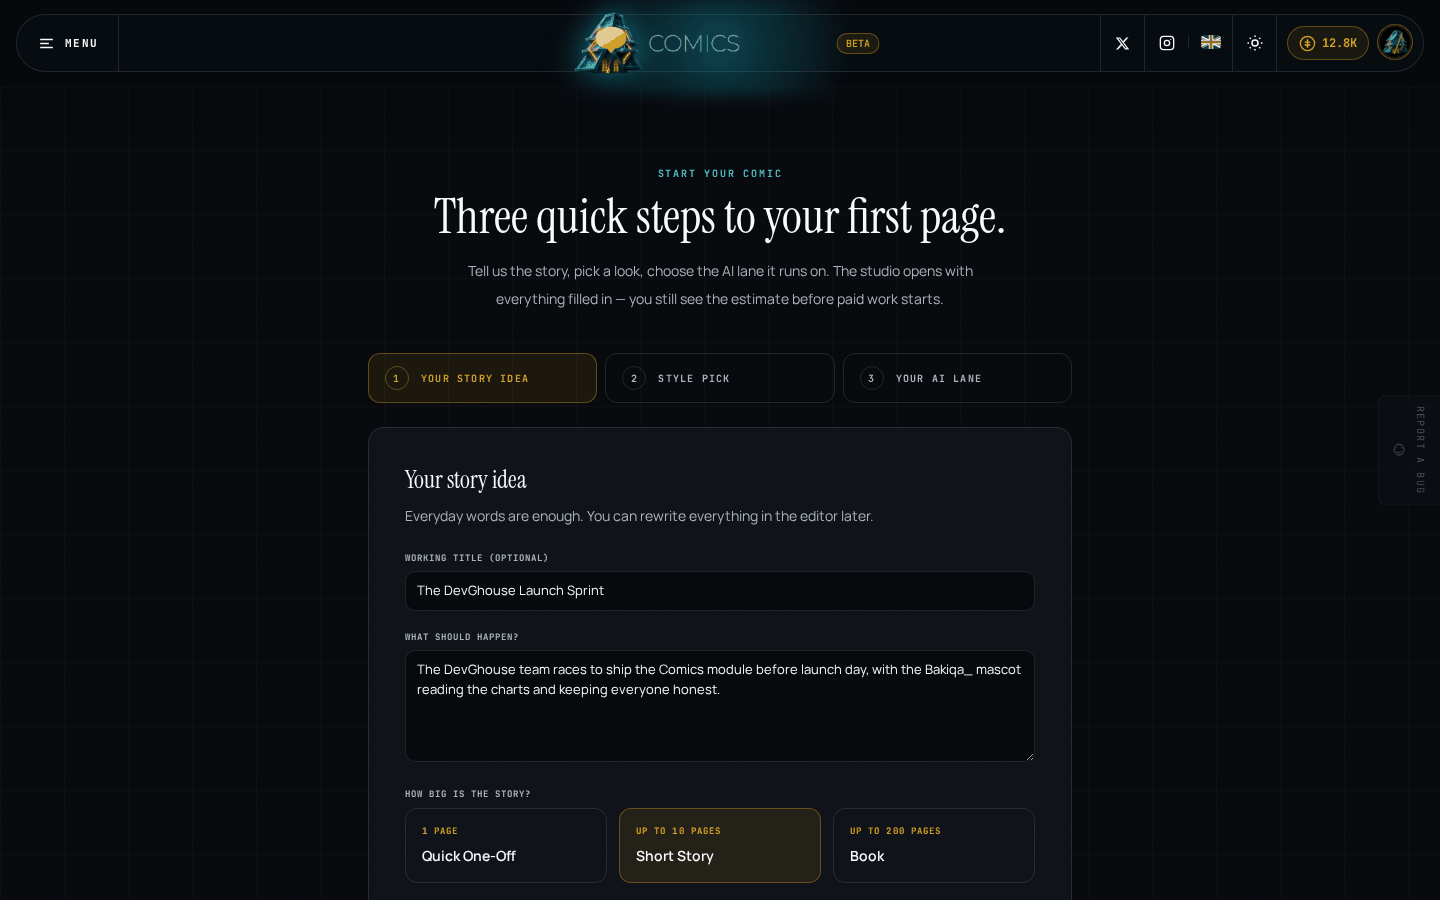
- From the home page, click Start a comic. On step 1, give your story a working title (optional) and describe what should happen, then pick a size. Signed in, the header already carries your credits pill and avatar instead of a sign-in link.
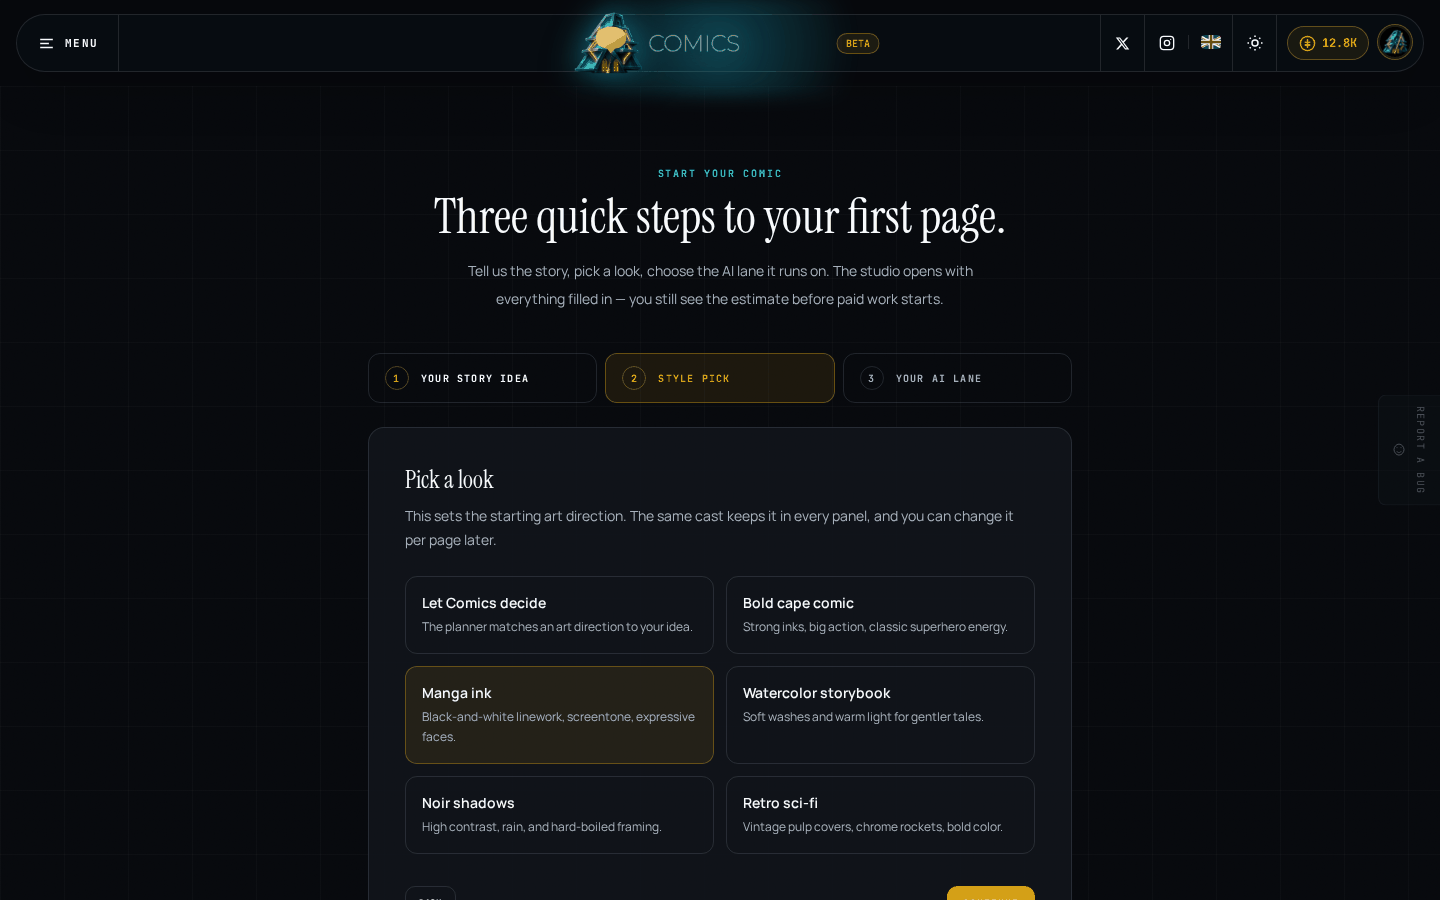
- Step 2 sets the starting art direction. Pick a look, or leave Let Comics decide and the planner picks one that matches your idea. You can change the style per page later in the editor.
- Step 3 asks which AI lane runs the planning and art. DevGhouse Proxy needs no extra setup and is billed in credits; the other three (Claude Code, Codex CLI, Kimi CLI) are for connecting your own subscription to that provider.
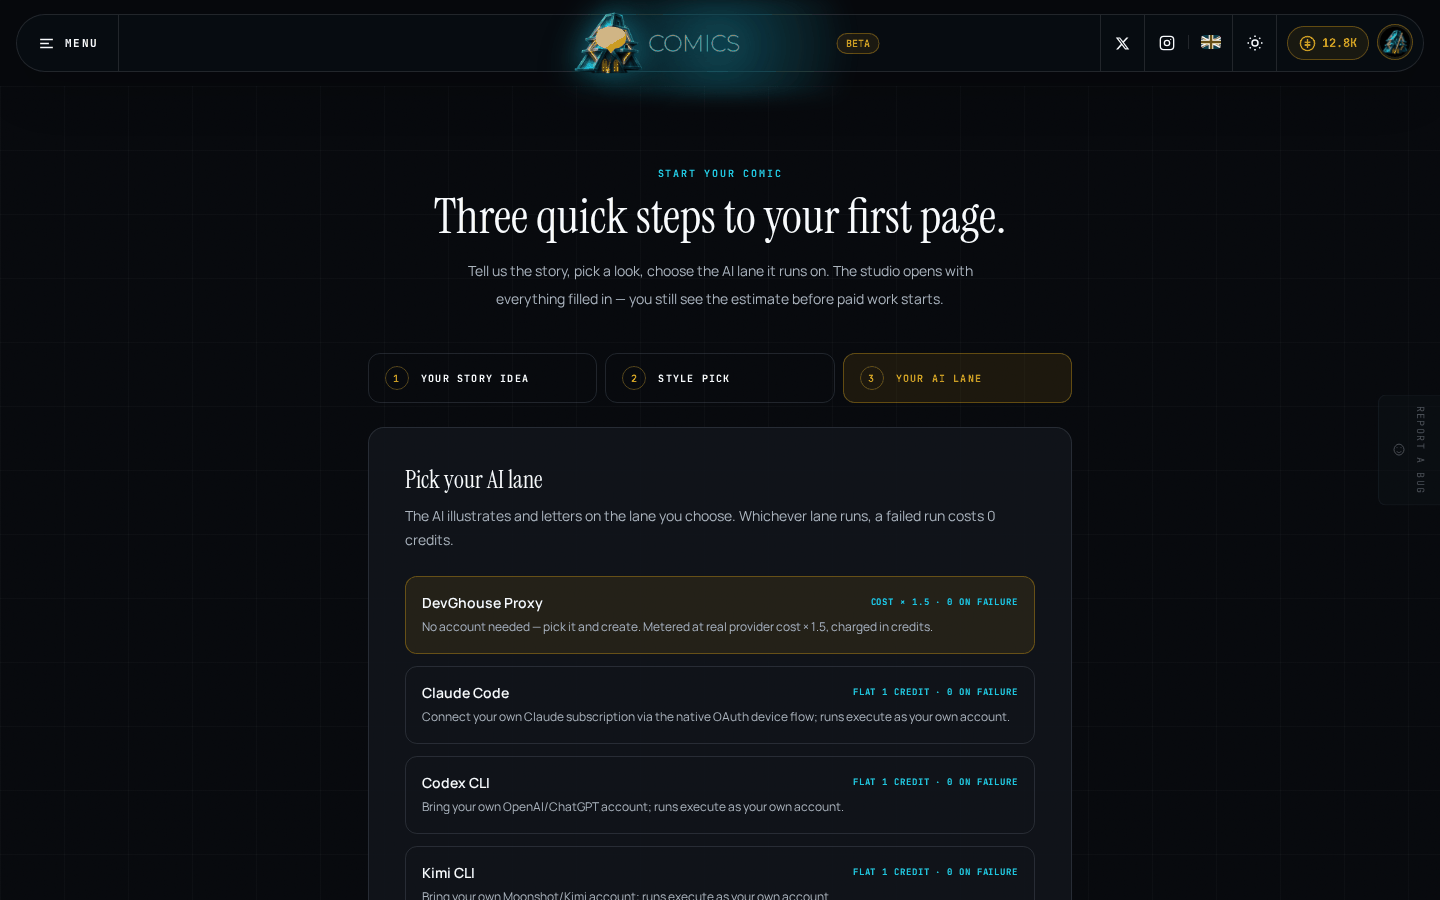
At the moment, the studio always plans and generates through DevGhouse Proxy. The three bring-your-own-account lanes don't yet connect an account from this screen, so picking one has no effect on billing today; use DevGhouse Proxy and check your balance in Credits and billing. - Click Create my comic. If you weren't signed in, you're sent to sign in or create an account first; your title, story, and style come with you and land pre-filled in the studio's start form.
Way 2: from inside the studio
If you're already signed in, you can skip the wizard and start straight from /app.
- Click one of the three mode cards, or New comic in the top right.
- Fill in the project title, what should happen, the main language, how many pages to plan, and an optional tone and audience. Tick Include motion or Include narration if you want those from the start; you can turn them on later too.
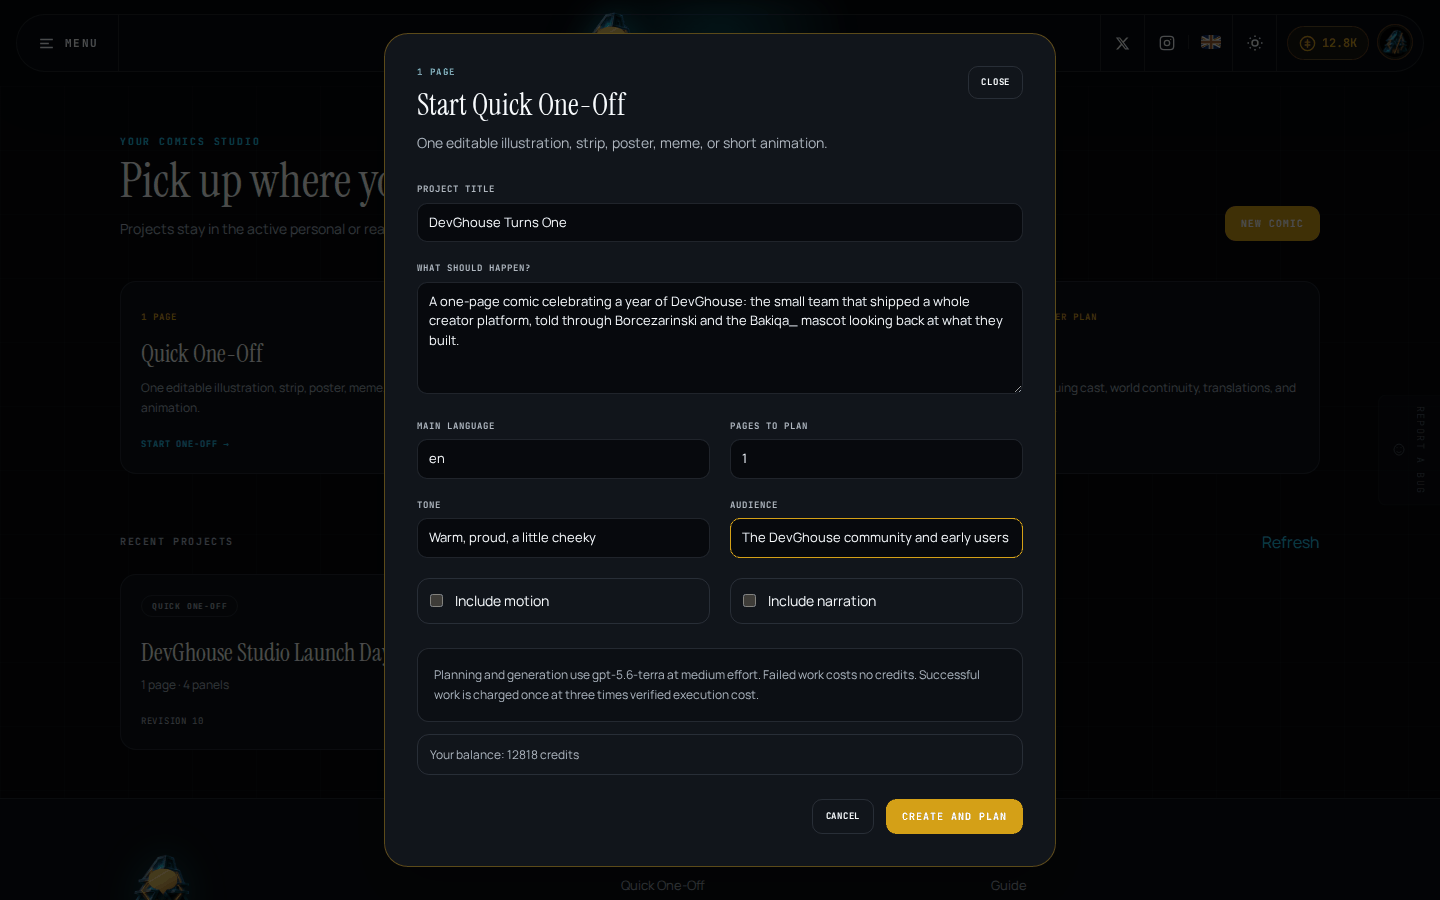
- The panel above the buttons names the model and effort level that will plan and generate your comic, and reminds you that failed work costs no credits. Your current balance shows just below it; if it's too low, Top up credits opens the purchase screen right there.
- Click Create and plan. You're taken straight into the editor for your new project, with planning already running in the background.
What's next
Once a project is created, everything happens in the editor: pages, panels, art, words, and translations.