
Email and Scheduling
The Communication module brings your inbox into DevGhouse: connect Gmail or Outlook and you can read, search, and send mail from your workspace, and let an assistant draft replies for the messages that need one. Calendly adds a booking link to your public profile so people can grab time with you without an email back-and-forth.
Connect Gmail
- From your workspace home, turn on the Communication module if it is not on already.
- Click the Communication tile, then open Integrations and choose Gmail.
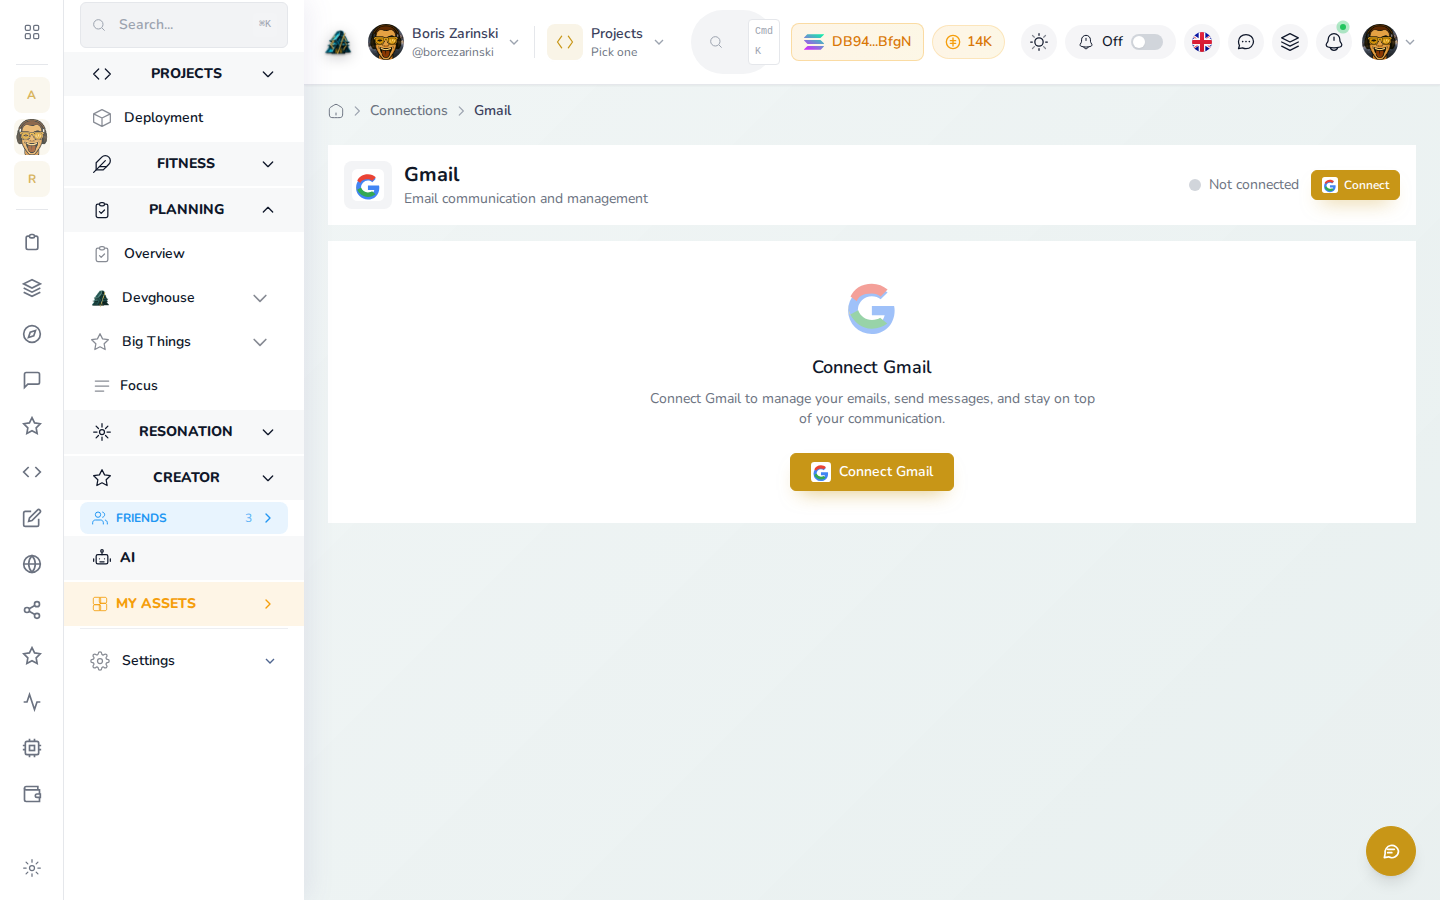
- Click Connect Gmail and sign in with the Google account you want to use.
- Approve the permissions Google asks for. Once connected, your inbox appears inside DevGhouse.
Connect Outlook
- From Communication → Integrations, choose Outlook.
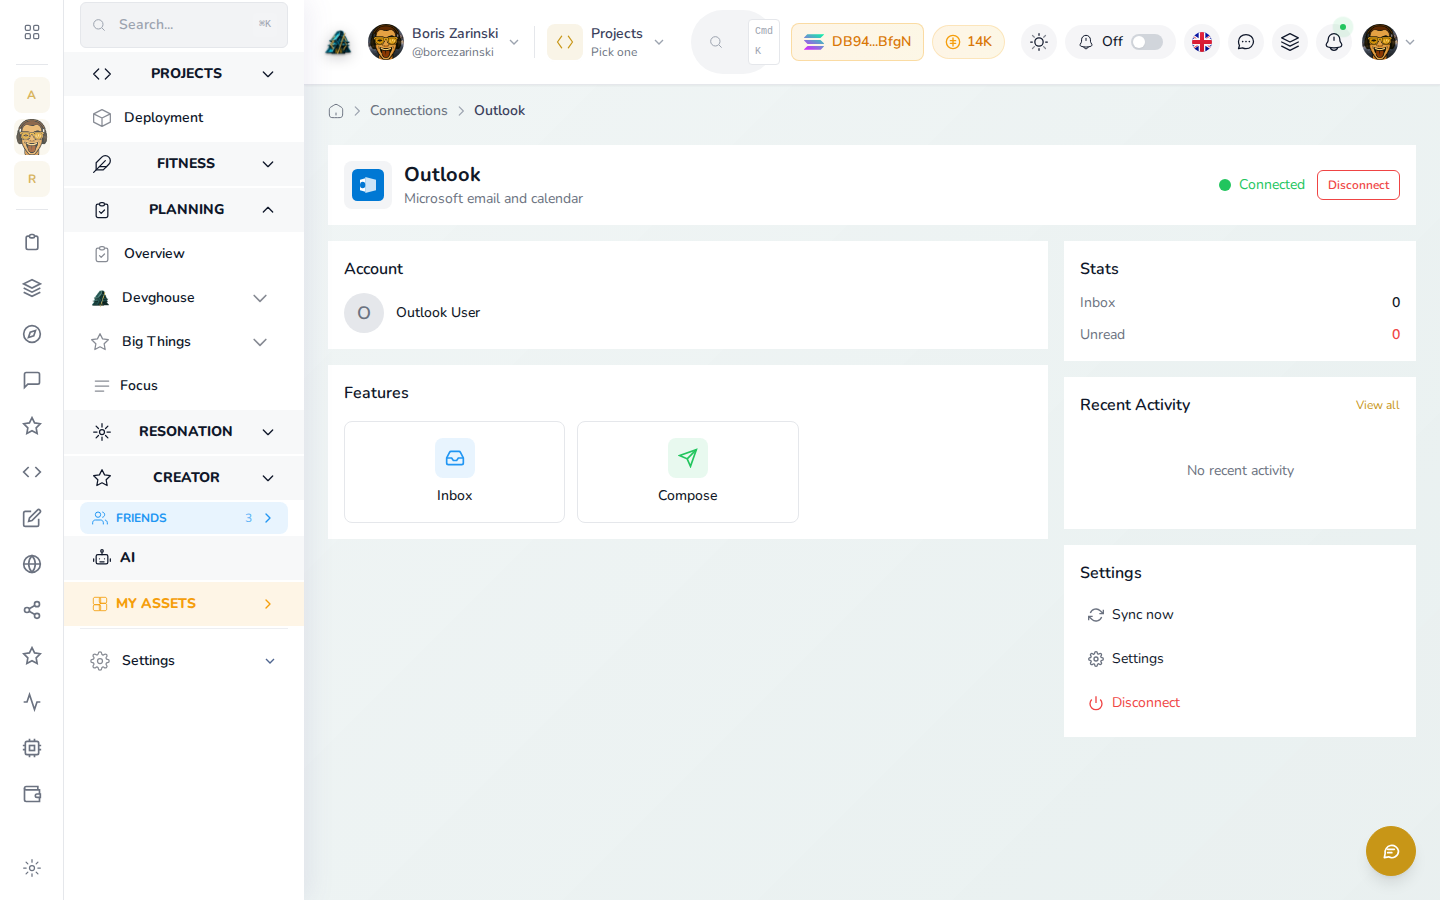
- Click Connect and sign in with your Microsoft account.
- Once connected, the page shows your inbox count and unread count, and you can compose, reply, and organize mail into folders from DevGhouse.
Connect Calendly
- From Communication → Integrations (or Planning → Integrations), choose Calendly.
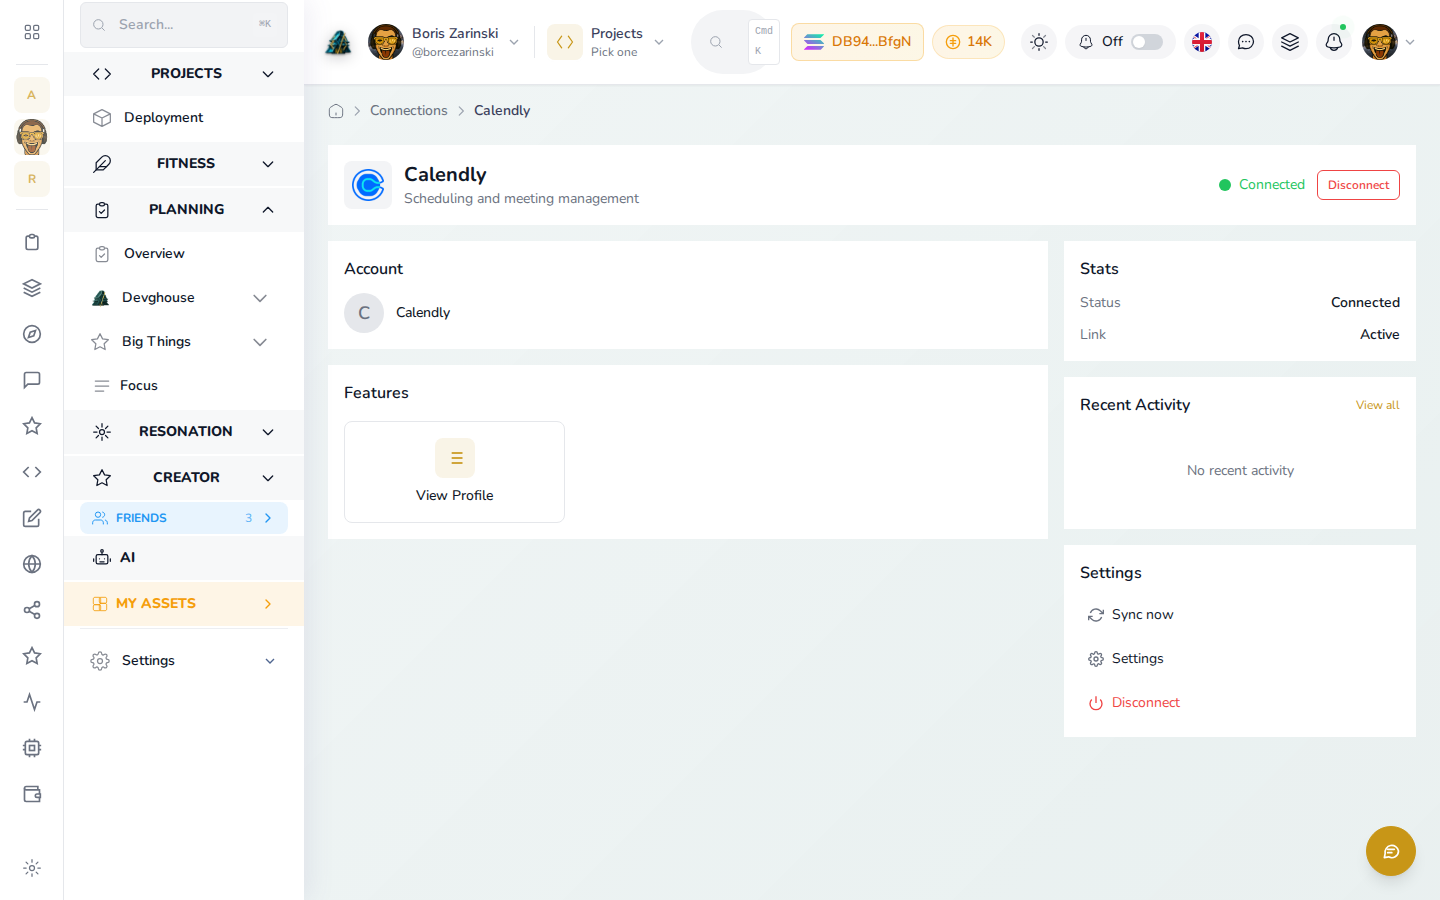
- Click Connect and sign in to Calendly.
- Once connected, a Book a meeting link appears on your public DevGhouse profile, pointing at your live Calendly booking page.
For agents and routines
With Gmail or Outlook connected, an assistant using your MCP Server can read your inbox with gmail_list_emails or outlook_list_emails, and send mail with gmail_send_email or outlook_send_email. With Calendly connected, it can check calendly_list_scheduled_events before booking anything else on your calendar. DevGhouse also has an opt-in AI email planner that watches connected inboxes, drafts replies for anything that needs one, and waits for you to approve before sending; turn it on from the Communication module's settings once your inbox is connected.