Getting started
1. Create an account
- Go to trips.devghouse.com.
- Click Create your trip on the homepage, or Sign In in the top right if you already have an account.
- In the sign-up form, fill in your name, email, and a password (you'll type it twice to confirm it), then agree to the terms.
- Submit the form. You're taken straight to your dashboard, signed in, with your account avatar and credit balance now showing in the header.
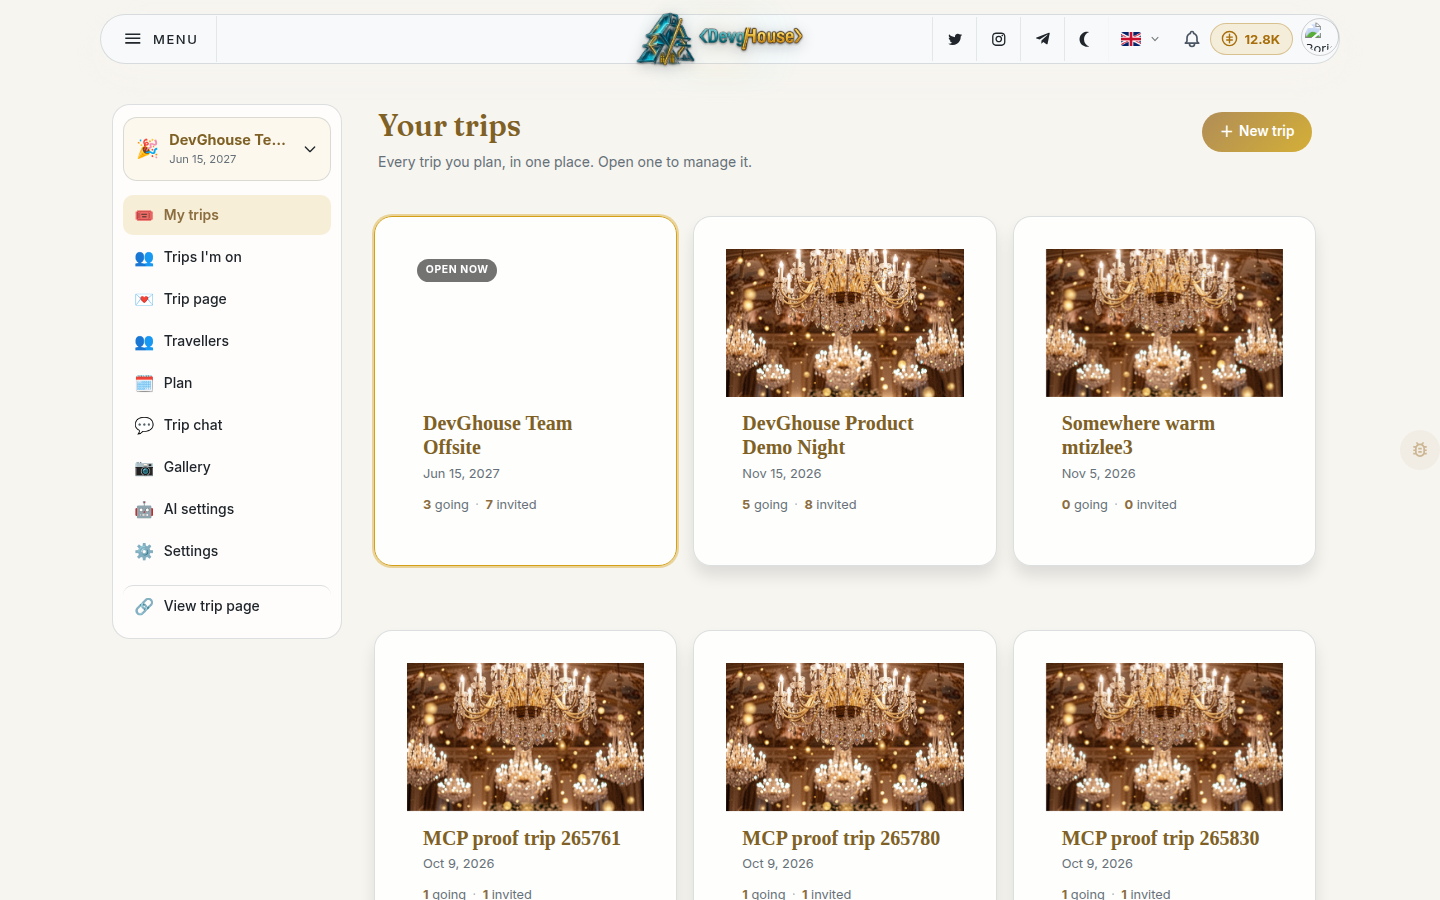
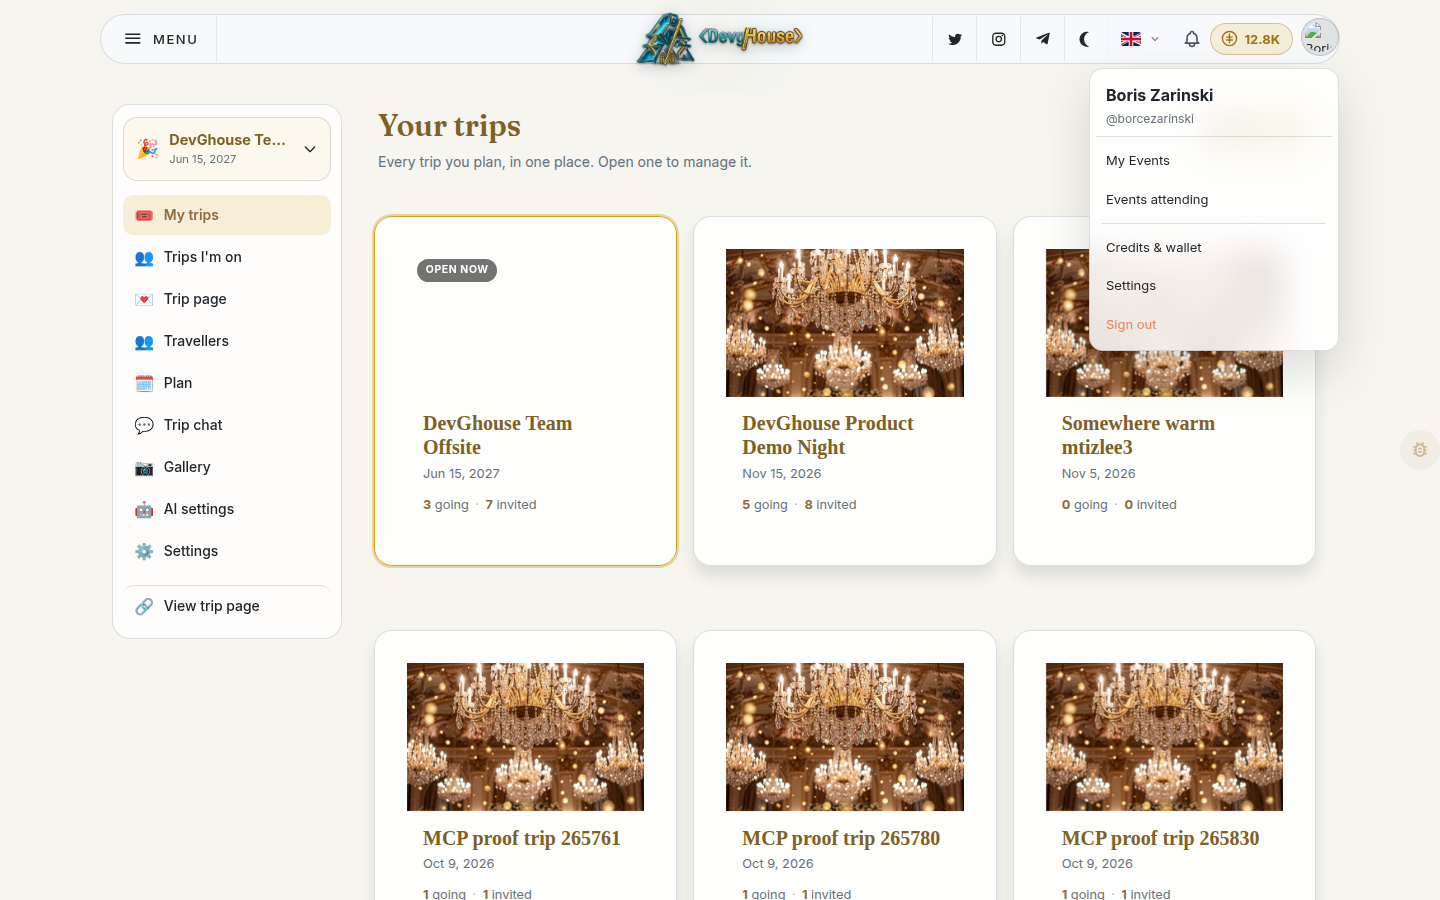
New accounts start with free credits, so you can create your first trip without paying anything up front. Click the avatar any time to open the account menu, which shows who you're signed in as and your current credit balance.
2. Confirm your email
After you sign up, you'll see a small banner asking you to confirm your email address. Nothing stops working while it's there, but confirm it when you get the email so you don't lose access to notifications about your trip.
3. Find your trips
Once you're signed in, My trips in the left sidebar is your home base. Every trip you create shows up here as a card, with its dates and how many people are going.
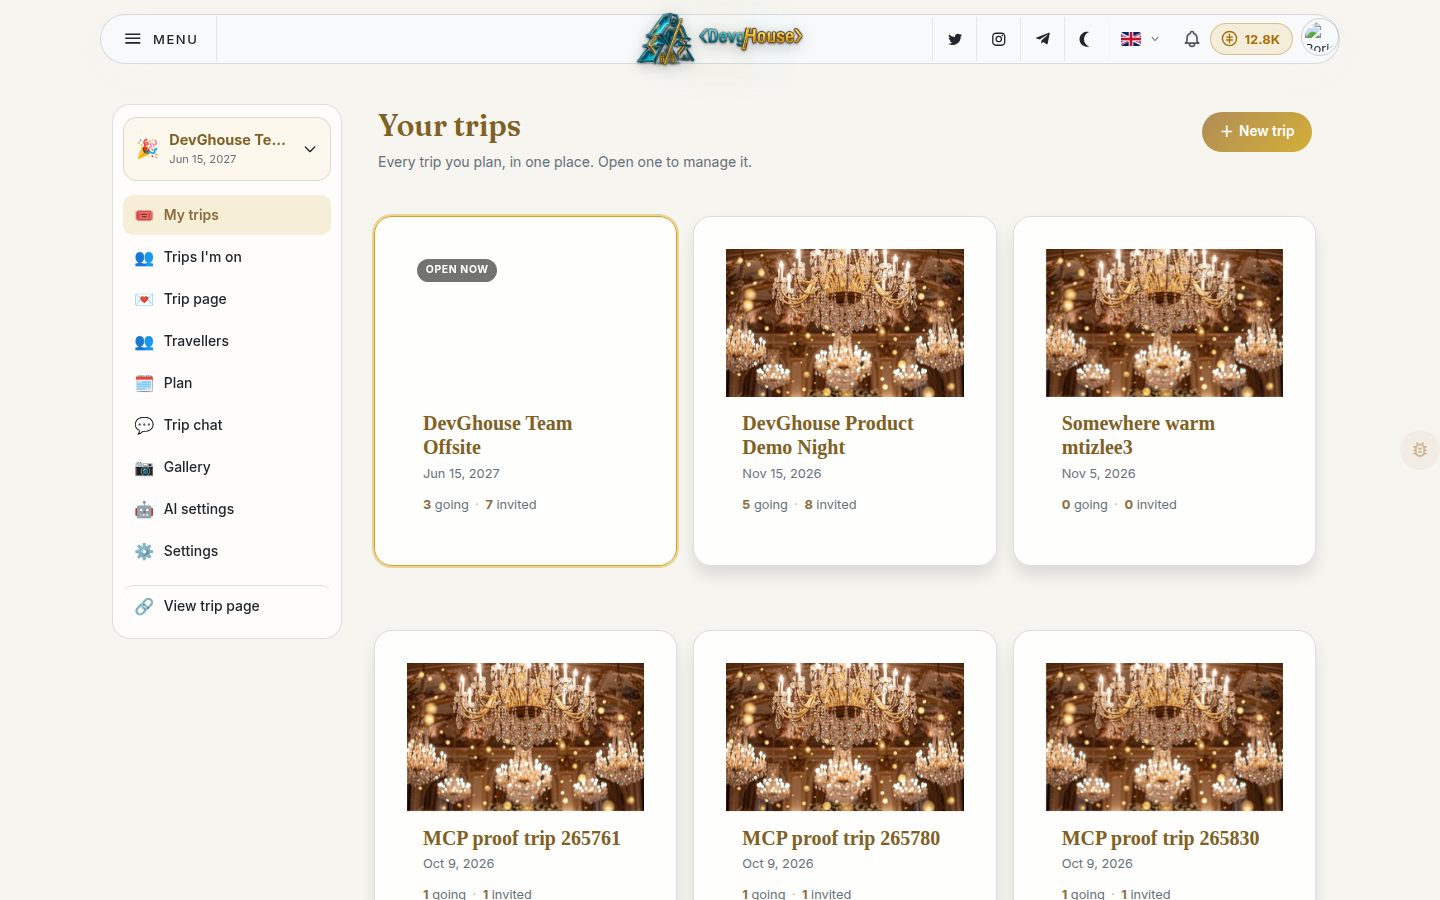
If this is your first time, the list will be empty. Click New trip and move on to Planning a trip.
Invited to someone else's trip instead? You won't find it under My trips. Look for Trips I'm on, just below it in the sidebar. That's the list of every trip you're travelling on rather than hosting.
A note on accounts
Trips shares a login with the rest of DevGhouse, so if you already use another DevGhouse product, the same email and password work here too. Your credits and your trips, though, belong to Trips alone; they don't carry over from or into other DevGhouse apps.