Planning a trip
Click New trip from your dashboard, or Plan another trip from the trip switcher at the top of the sidebar. Either way, you land on a three-step wizard. None of it is required to get perfect on the first pass; you can change every field later from Settings.
Step 1: Name your trip
- Type a trip name, something like "DevGhouse Team Offsite" or "Lisbon Weekend."
- Add a short description so travellers know what they're signing up for.
- Optionally add a cover photo: upload your own image, or let AI generate one from your trip's name and description. Once it's uploaded, it shows as a thumbnail right there in the form.
- Click Continue.
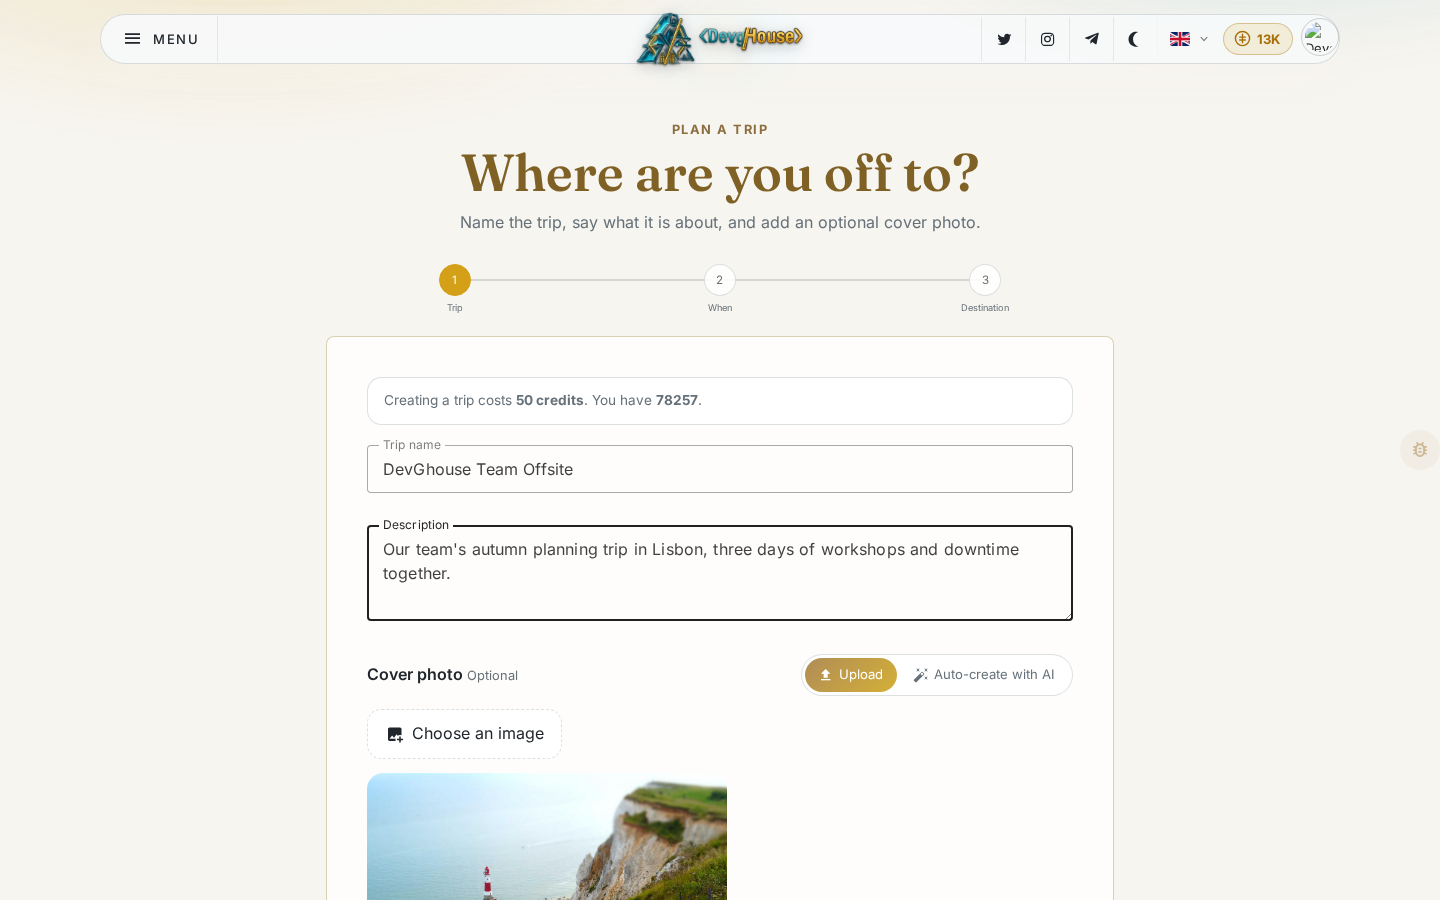
A small note above the form tells you how many credits creating a trip costs, and how many you currently have. If you don't have enough, a Buy credits button appears right there so you don't have to go hunting for one.
Step 2: Pick your dates
- Use the calendar to pick your departure day.
- Set a rough departure time on the clock.
- Fill in Coming back on with your return date.
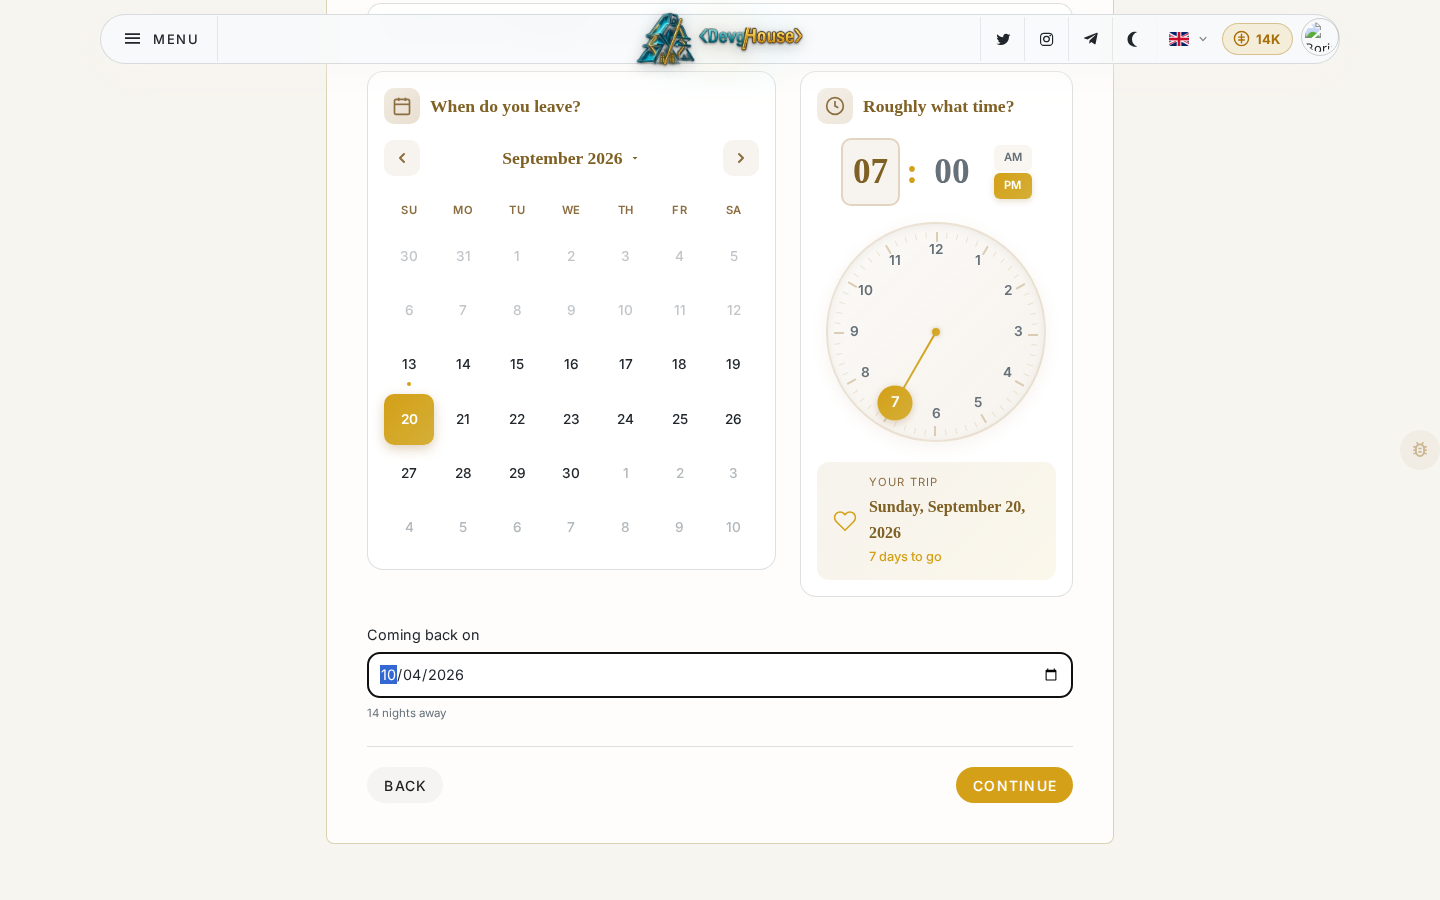
The wizard shows you how many nights the trip covers as you fill this in, so you can catch a typo before it turns a weekend trip into a three-week one.
Step 3: Set a destination (optional)
If you already know where you're going, search for it and pick it from the suggestions; a small map confirms you got the right place.
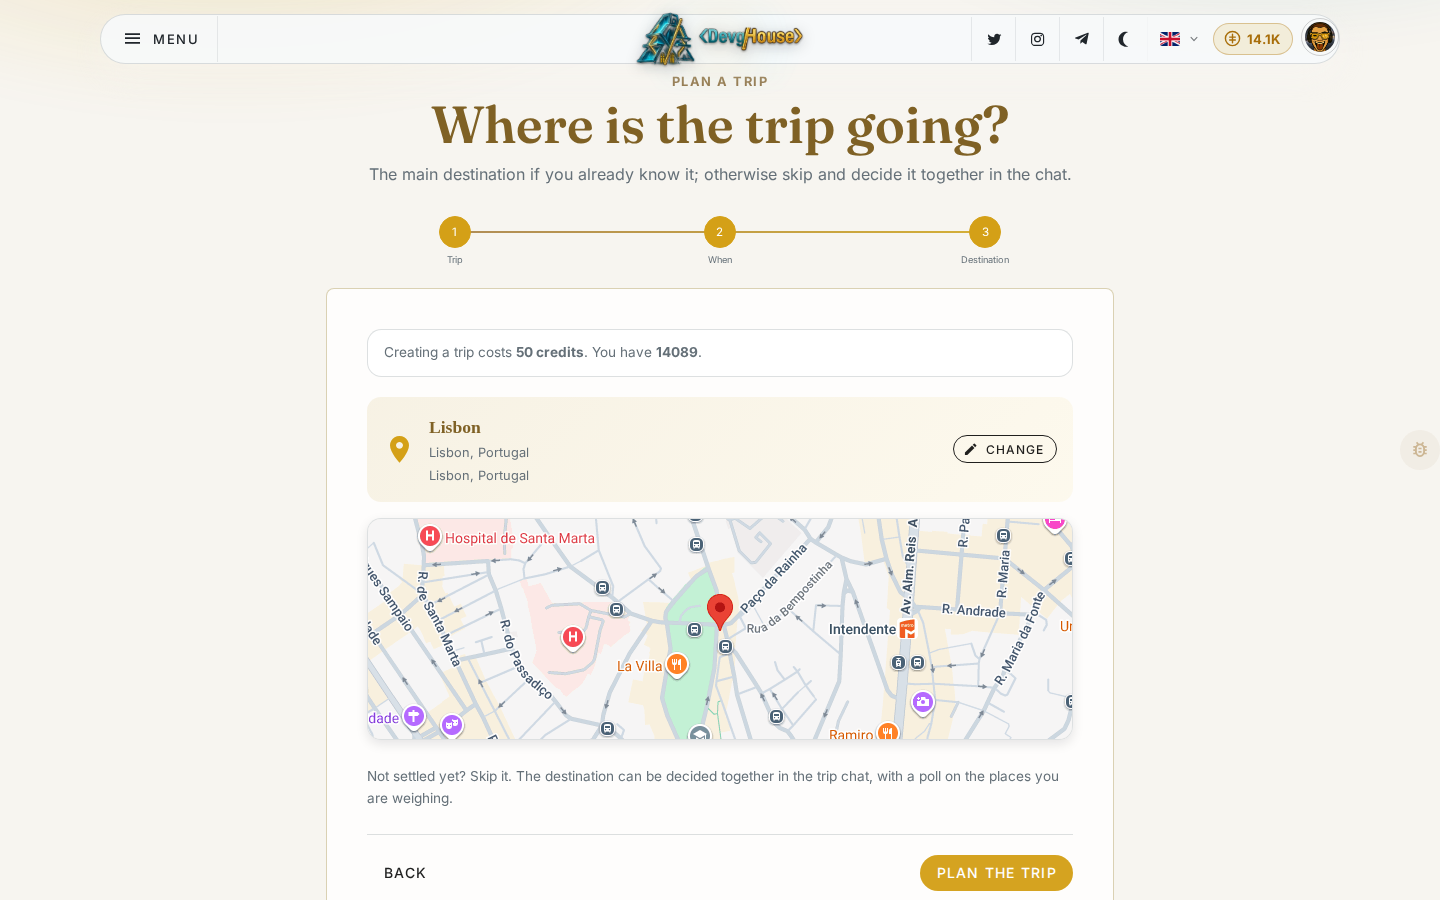
Don't know yet? Skip this step entirely. You can decide the destination together later, in the trip chat, with a poll.
Click Plan the trip (or Plan the trip, decide the place later if you skipped step 3) and you land on your new trip's dashboard, ready to build out the plan.