
Guests and RSVPs
Open Guests from your dashboard to see and manage everyone you've invited.
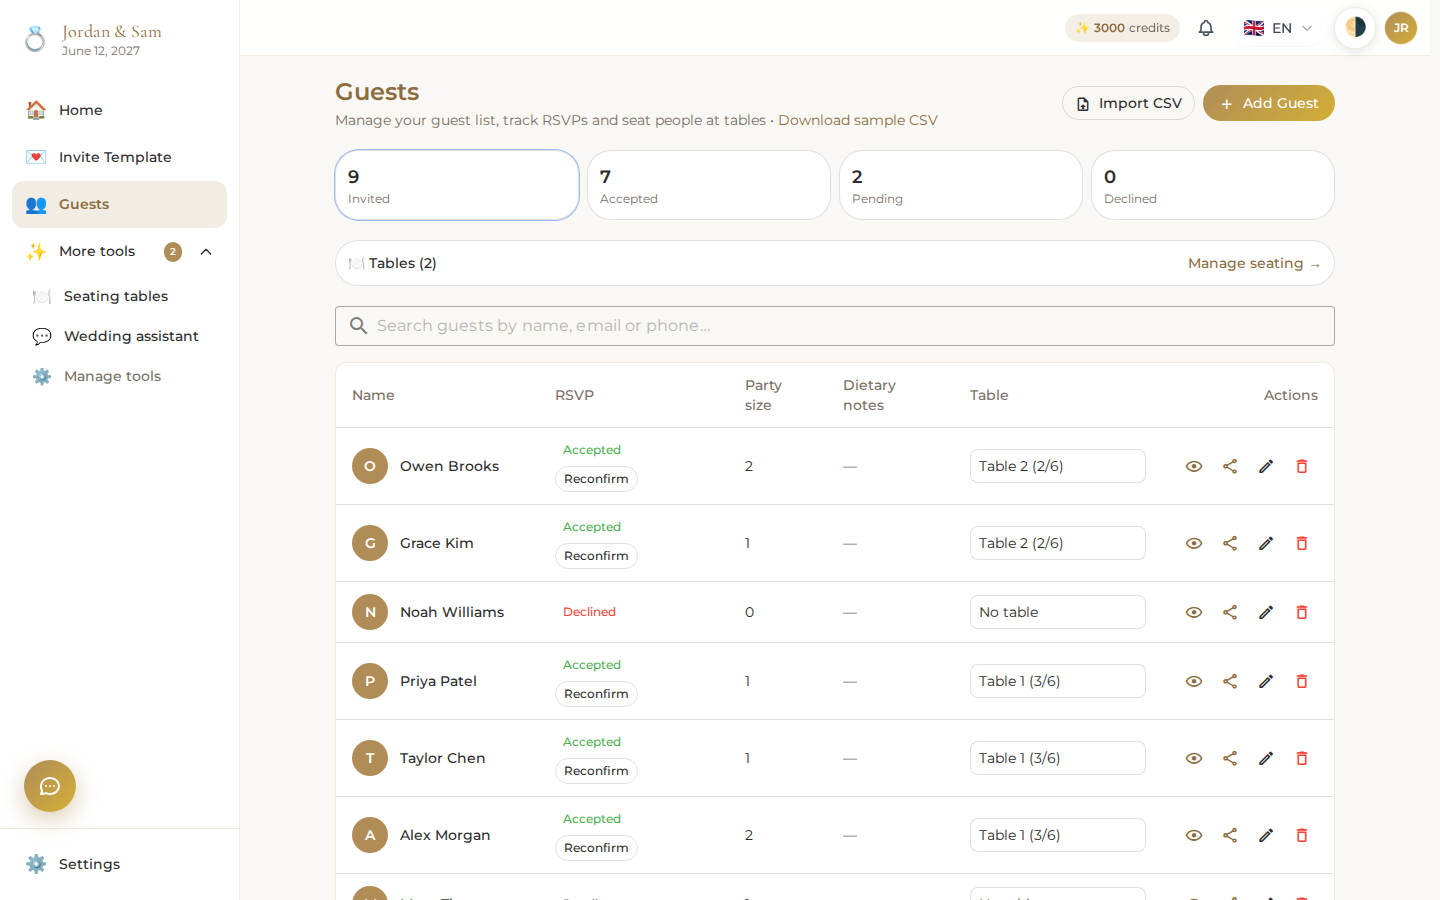
Add guests
Click Add Guest to add someone one at a time with their name, contact details, and how many people are in their party. To add many at once, use the import button next to it and upload a spreadsheet; a Download sample CSV link next to the page title shows the exact format expected.
Track who's responded
Four stat tiles at the top of the page count your guests by status: Invited (everyone), Accepted, Pending, and Declined. Click any tile to filter the list down to just that group; click it again to clear the filter. Use the search box to find someone by name, email, or phone.
When a guest answers on their invitation page, their status updates here automatically, the same Yes or No form described in Your invitation, guest side.
Work with a guest
Each guest in the list has a few actions available:
- View details opens their full RSVP, including how many people they're bringing and any notes they left.
- Edit changes their name or contact details.
- Share opens that guest's personal invite link, ready to send by WhatsApp, Telegram, SMS, or copy.
- Delete removes them from your guest list.
Guests without a table yet
Once you've created at least one table on your seating chart, a banner appears above the search box showing how many tables you have and linking straight to the seating page, so you can move between managing who's coming and where they'll sit.