Getting started
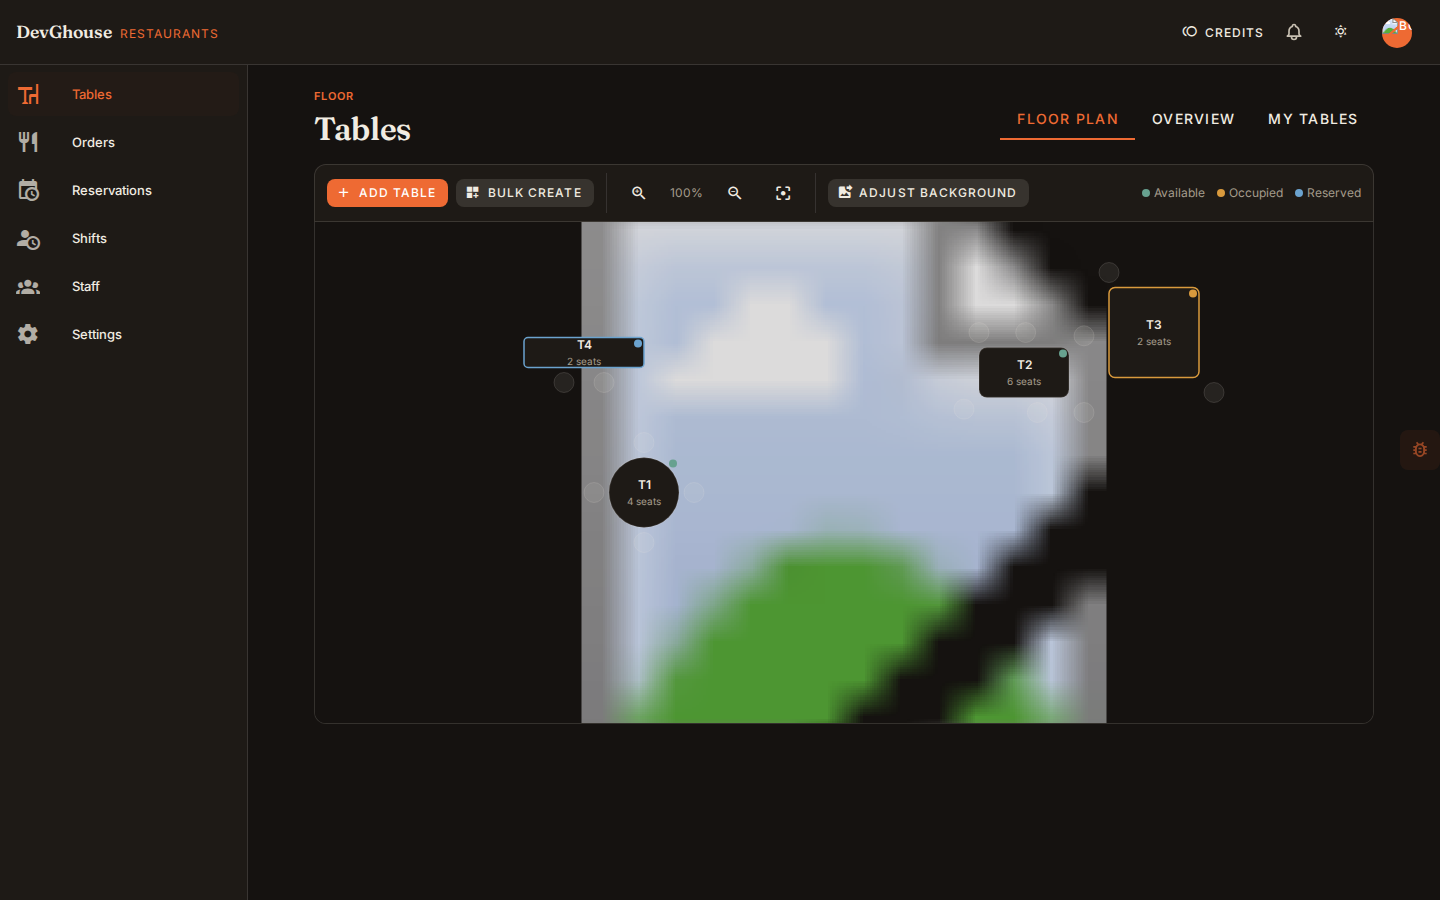
Here's the floor you're setting up: real named tables, seat counts, and live status as service moves through the night.
Set up your restaurant
- Go to restaurants.devghouse.com and click Set up your restaurant. If you already have a DevGhouse account, click Sign in instead and skip to signing back in later.
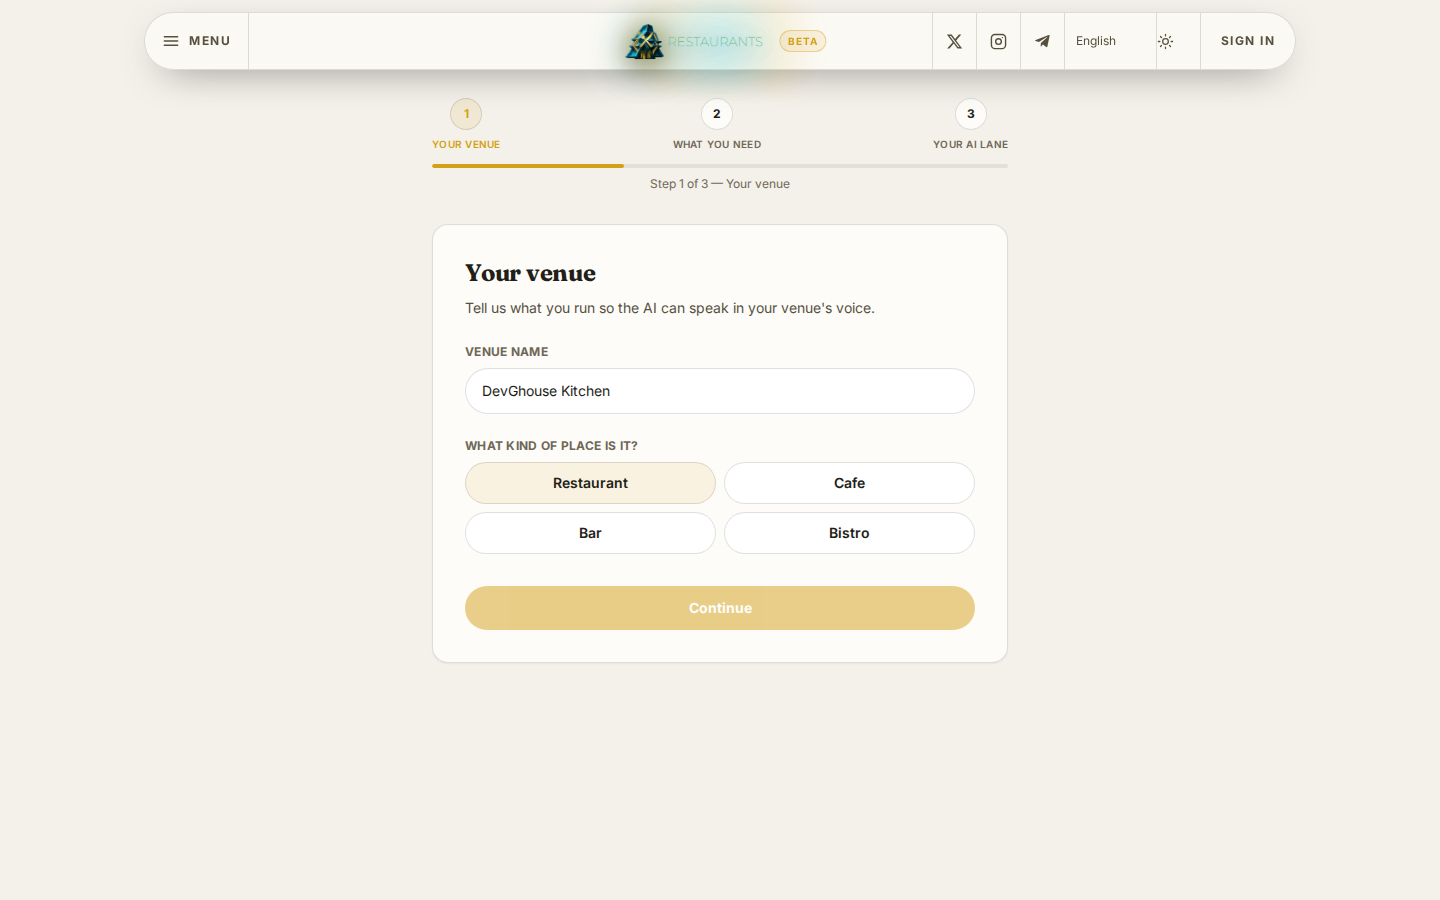
- Your venue. Enter your venue's name and pick what kind of place it is: Restaurant, Cafe, Bar, or Bistro.
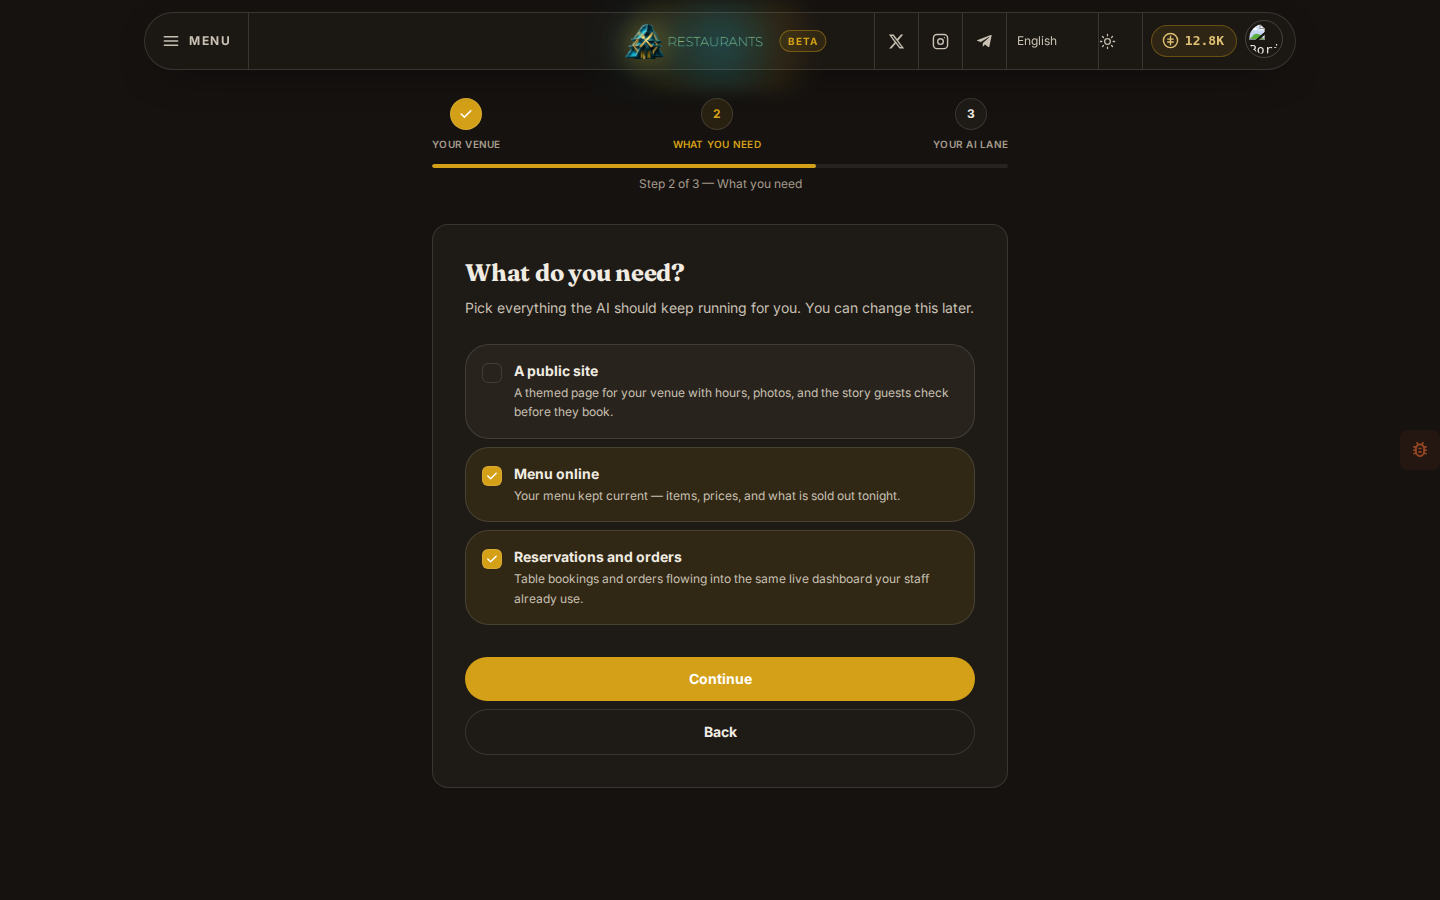
- What you need. Pick everything you want running: a public site, your menu kept current, and reservations and orders flowing into your dashboard. You can change this later.
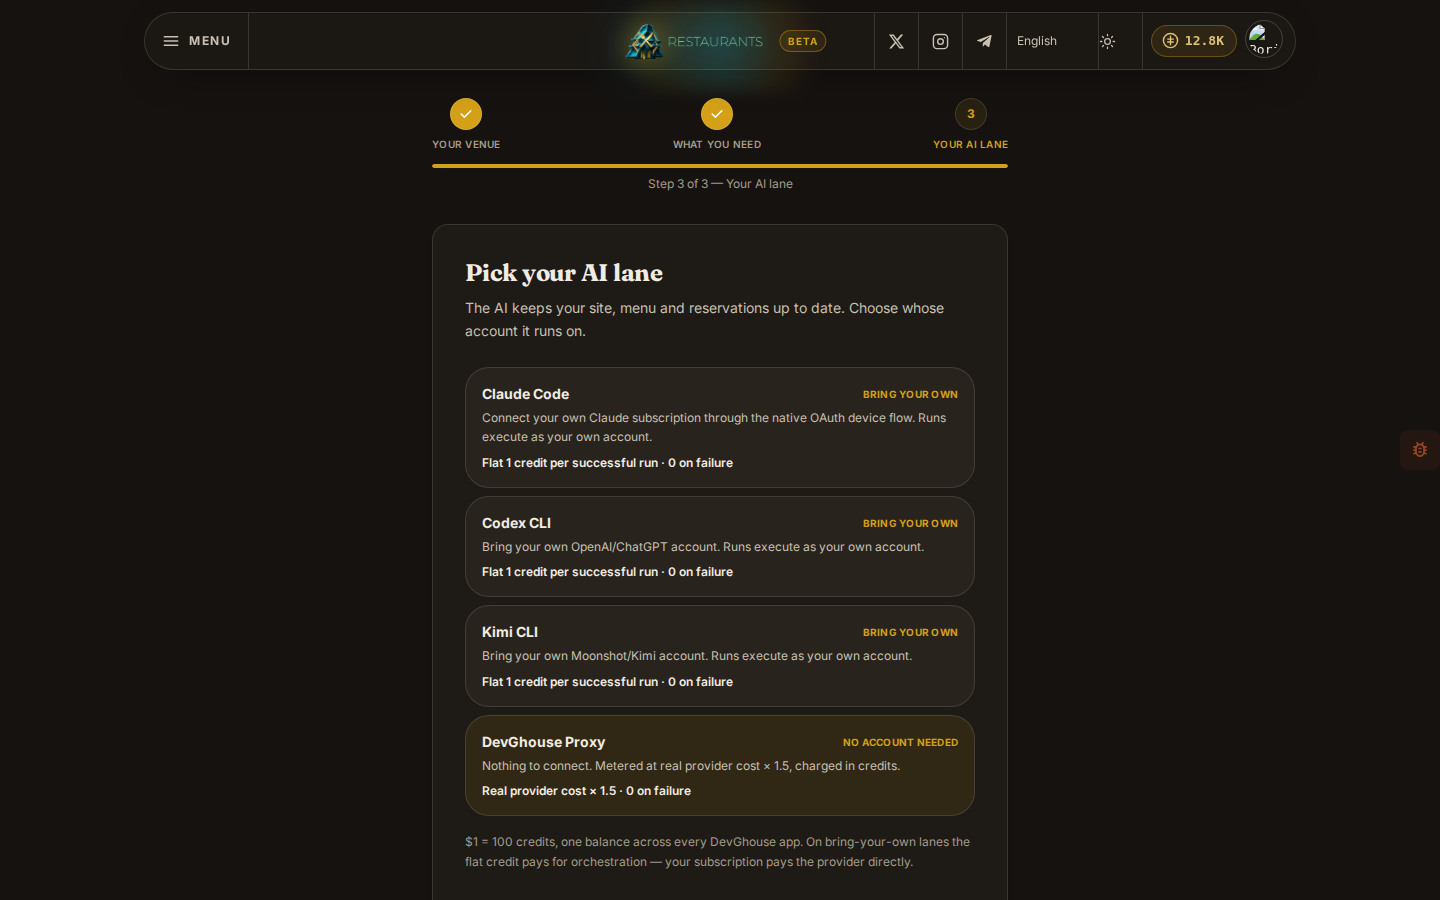
- Your AI lane. Choose whose account runs the AI work that keeps your site and menu current: your own Claude, Codex, or Kimi subscription, or the DevGhouse proxy with nothing to connect. Each option shows what it costs.
- Click Start - create your account.
Create your account or land straight in your dashboard
If you were already signed in to DevGhouse when you started this flow, there's no separate account form: the button in step 5 reads Open your dashboard, your venue is created right away, and you land on it as its owner. If you started out signed out, clicking Start takes you to a quick DevGhouse sign-up (name, email, password) first, then finishes the same way, straight into your new dashboard.
Signing back in later
Go to restaurants.devghouse.com and click Sign in with the same account. You're taken straight to your dashboard.
What to do first
From your dashboard, a sensible order is:
- Add your tables in Tables and floor plan.
- Turn on ordering and reservations in Settings. They start switched off.
- Invite your team in Staff and publish the week in Shifts.
- Once orders start coming in, watch them move across the Orders board in real time.