Tables and floor plan
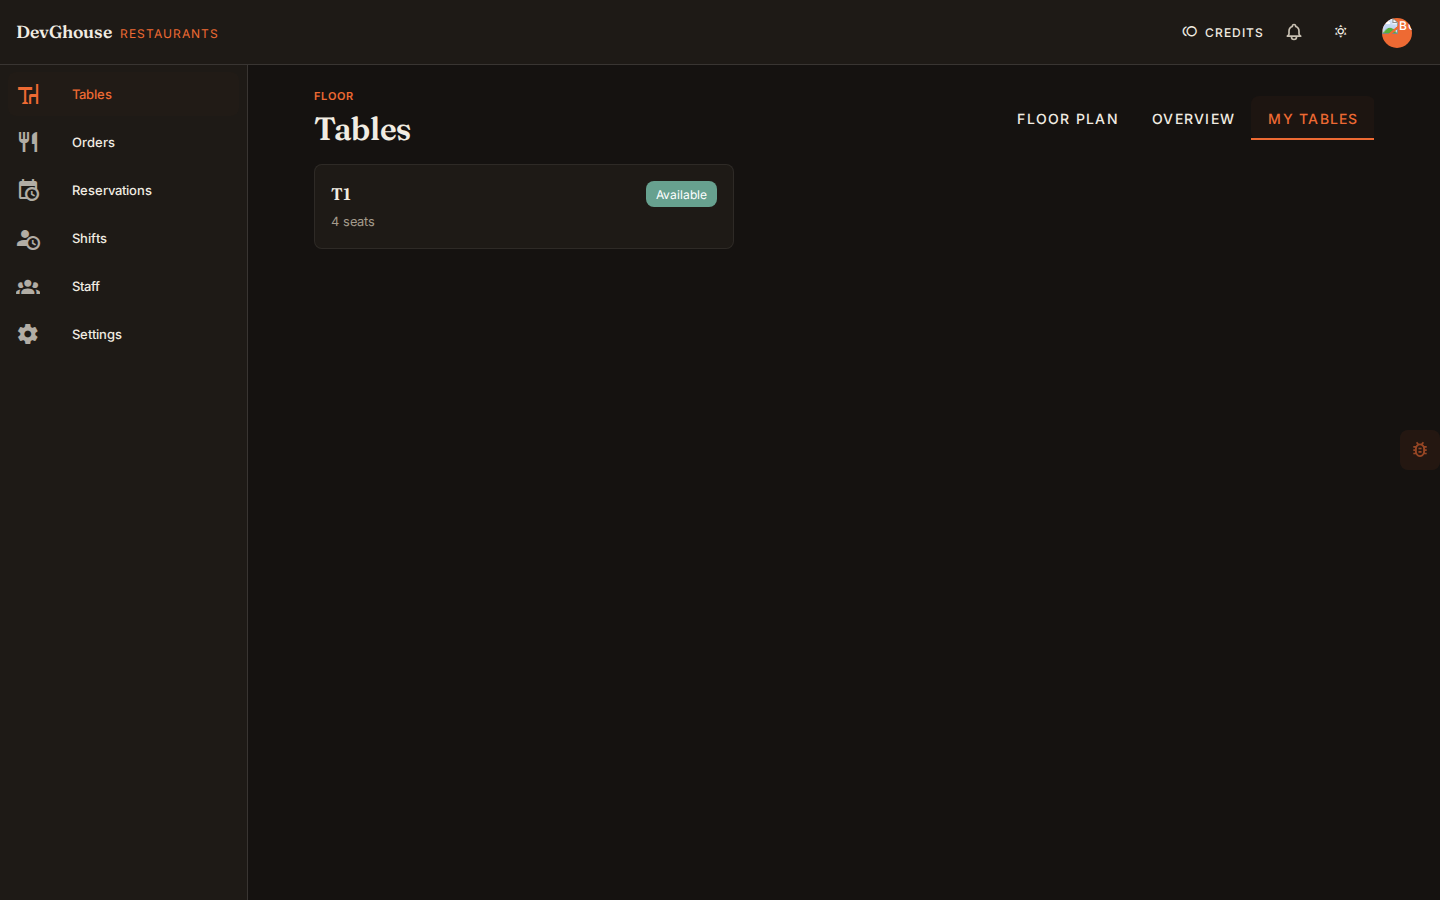
Tables is where your dining room lives. It has three views: Floor Plan (drag tables into place on a map of your room), Overview (a grid of every table and its status), and My Tables (only the tables assigned to you for this shift).
Add your first table
- Open Tables from the sidebar. A new venue starts with no tables, so Floor Plan opens with just Add Table and Bulk Create on the toolbar.
- Click Add table (or Add first table on an empty floor).
- Give it a name, a shape (Round, Rectangle, Square, or Bar), a seat count, and optionally a zone (like "Patio" or "Upstairs") and a waiter to assign it to.
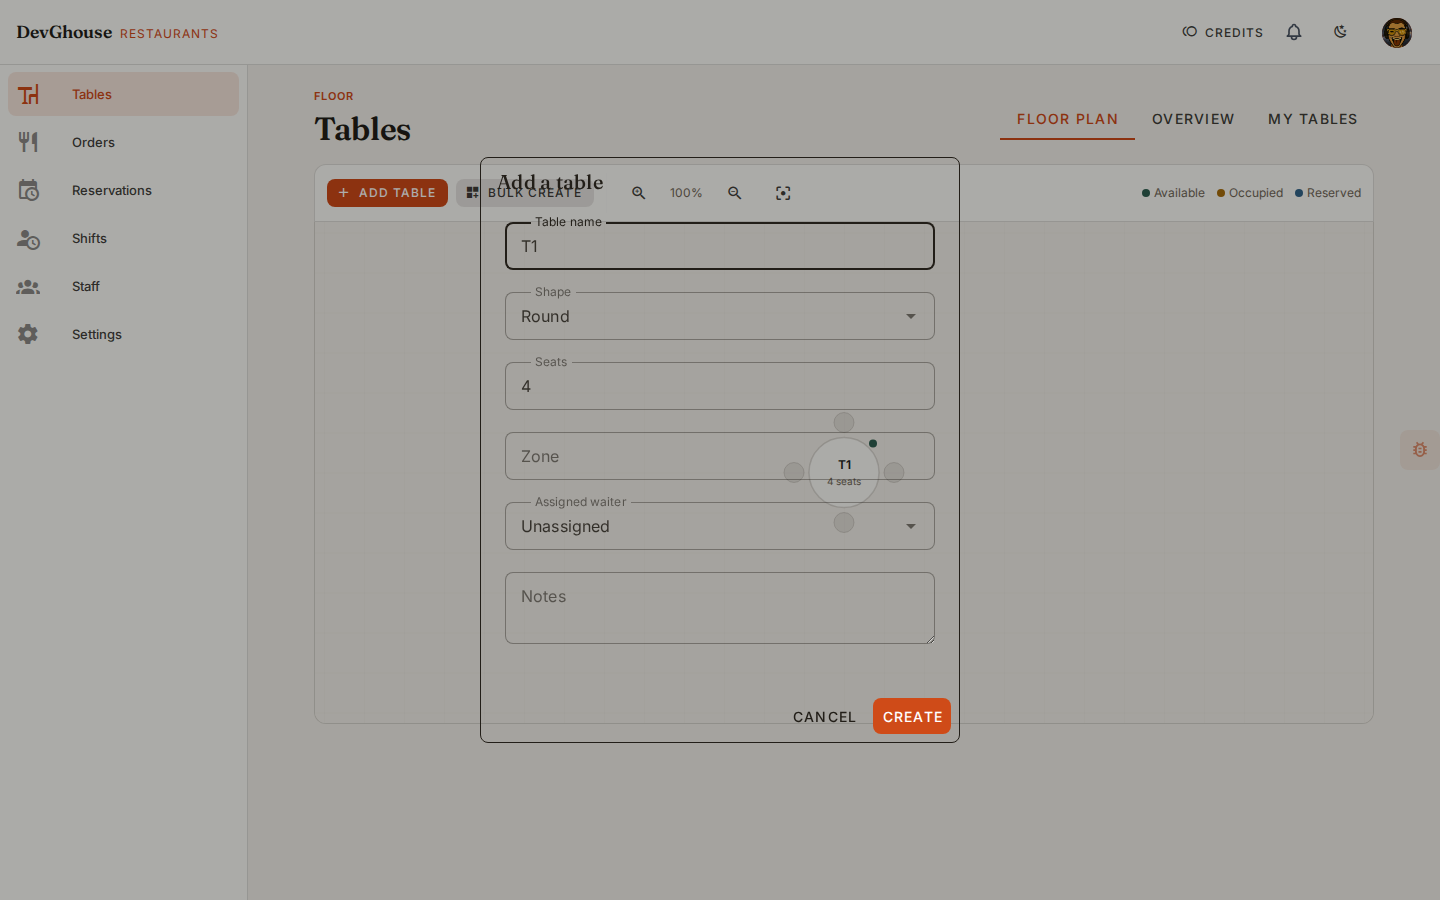
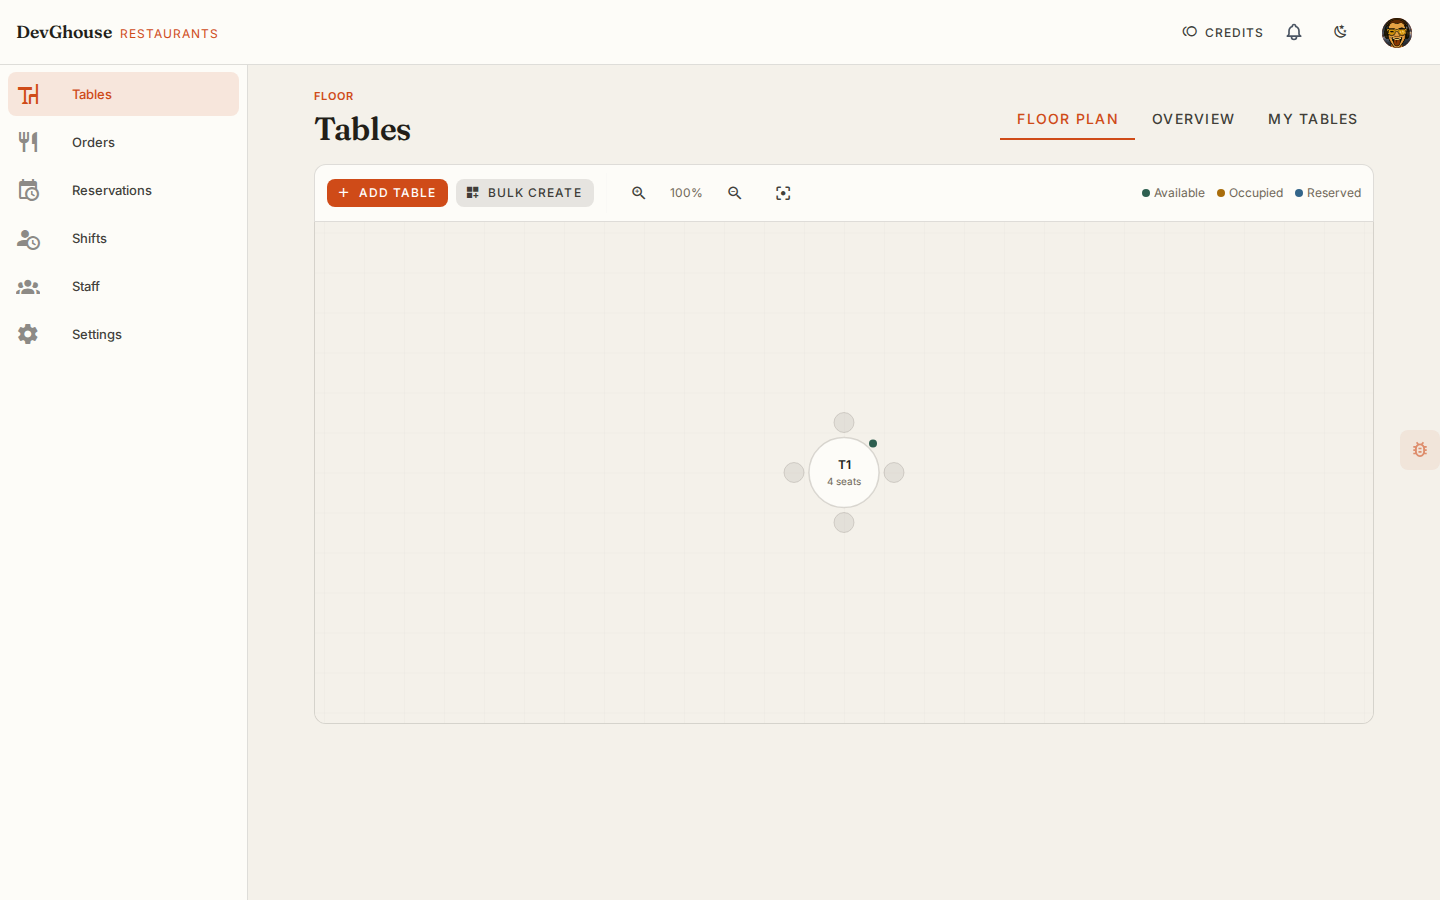
- Click Create. Your table appears on the floor plan right away.
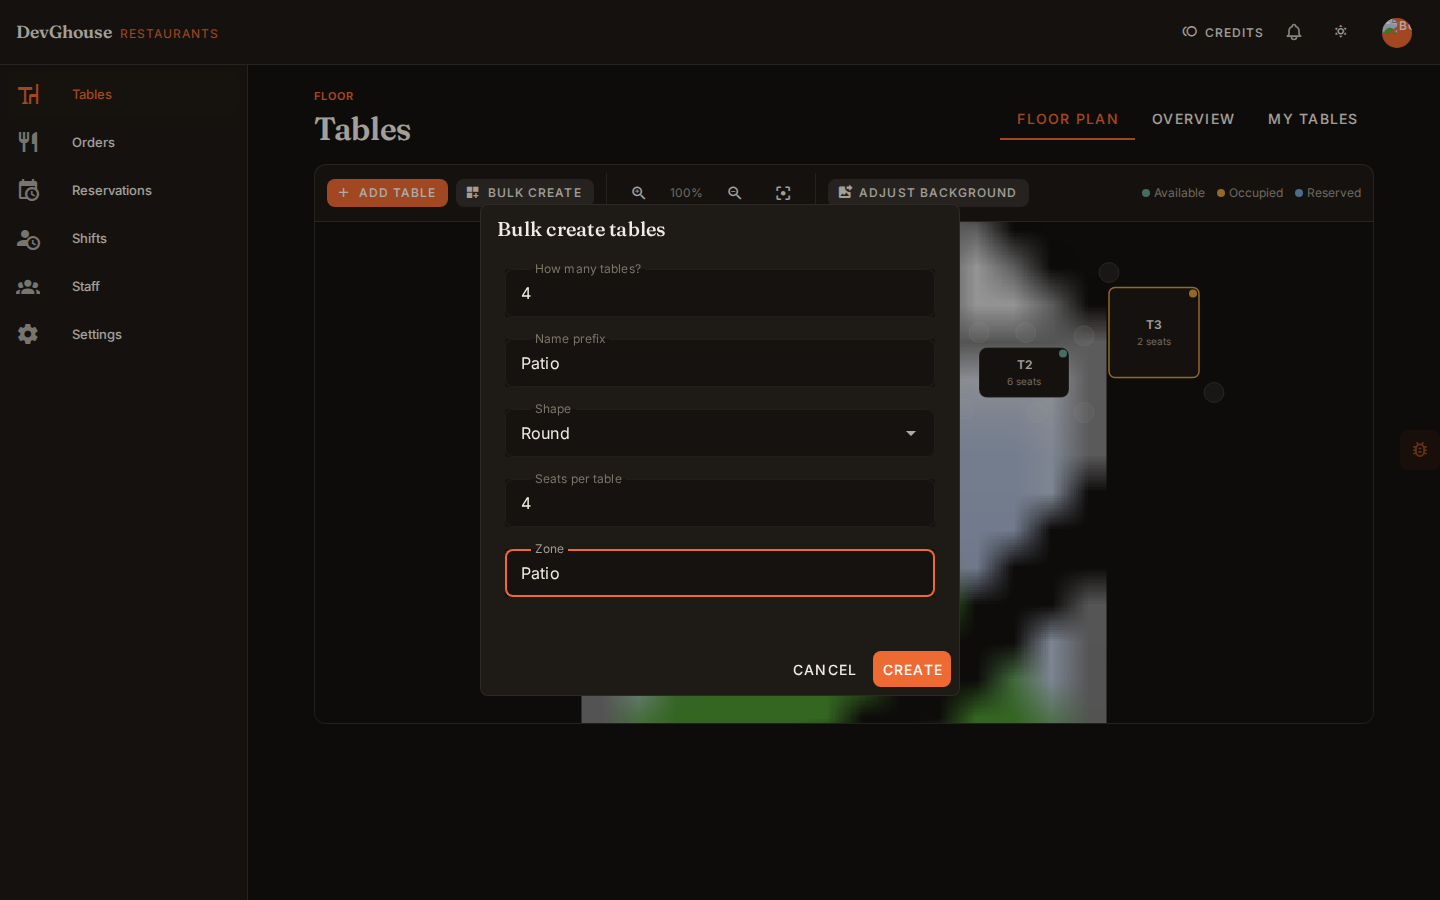
To add many tables at once, use Bulk create instead: set a name prefix, how many you need, a shape, seats, and a zone, and they're all created together.
Work with the floor plan
- Drag a table to reposition it, and drag its edge to resize it. Only managers can edit the layout; other staff see it read-only.
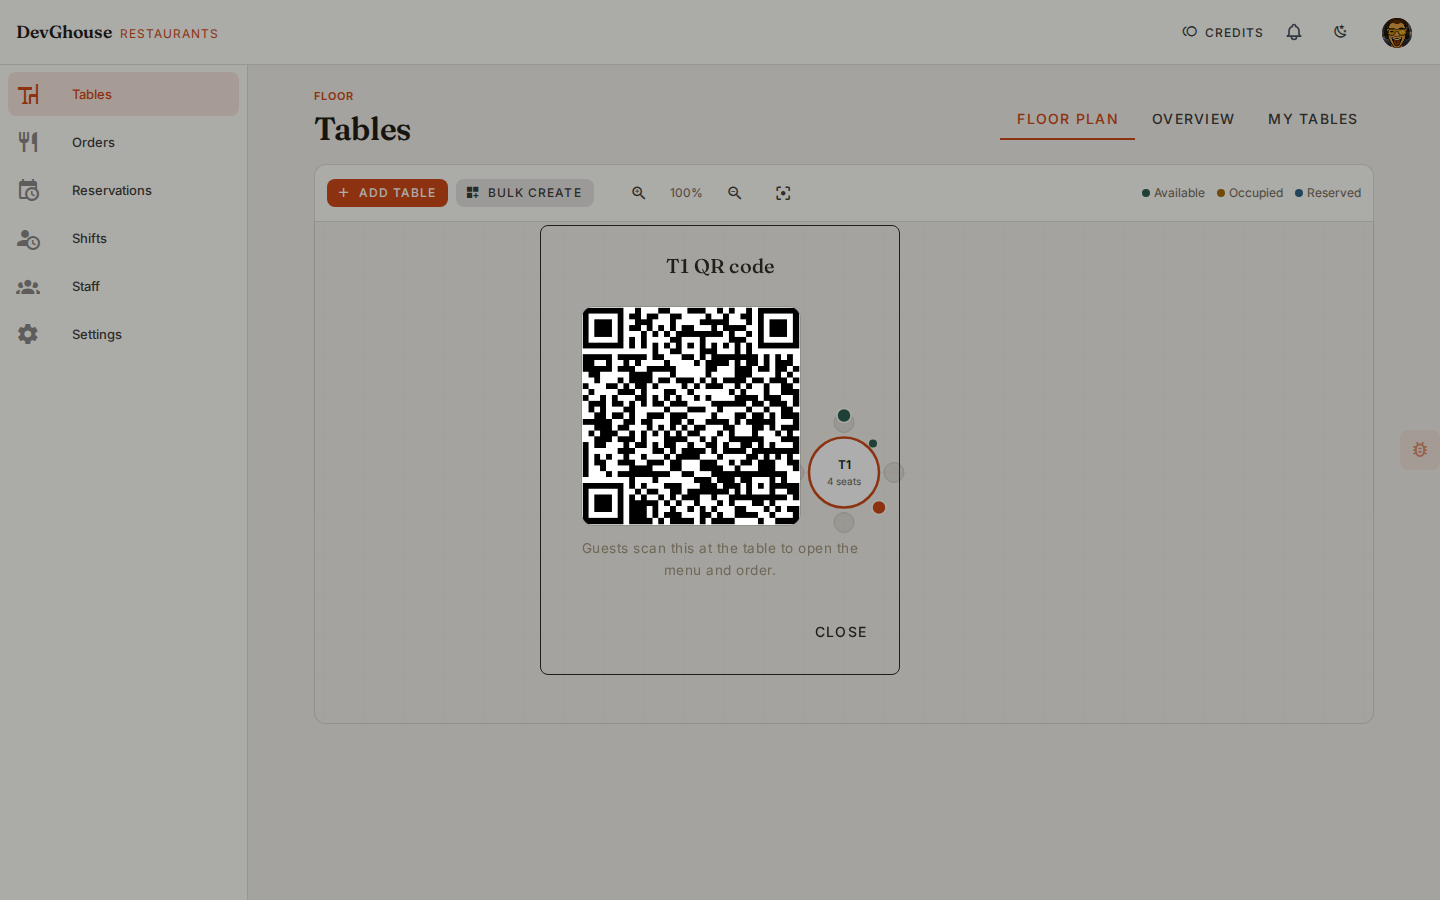
- Right-click (or tap and hold) a table for a menu to edit its details, delete it, or open its QR code.
- Table dots are color-coded: green for available, amber for occupied, blue for reserved.
- Use the zoom controls in the top bar to zoom in on a busy floor, and upload a background photo or sketch of your room from Settings to trace your tables against it.
A table's QR code
Once you turn on Table ordering enabled in Settings, print each table's QR code and leave it on the table. Guests scan it with their phone to open your menu and order without waiting for a waiter.
Overview and My Tables
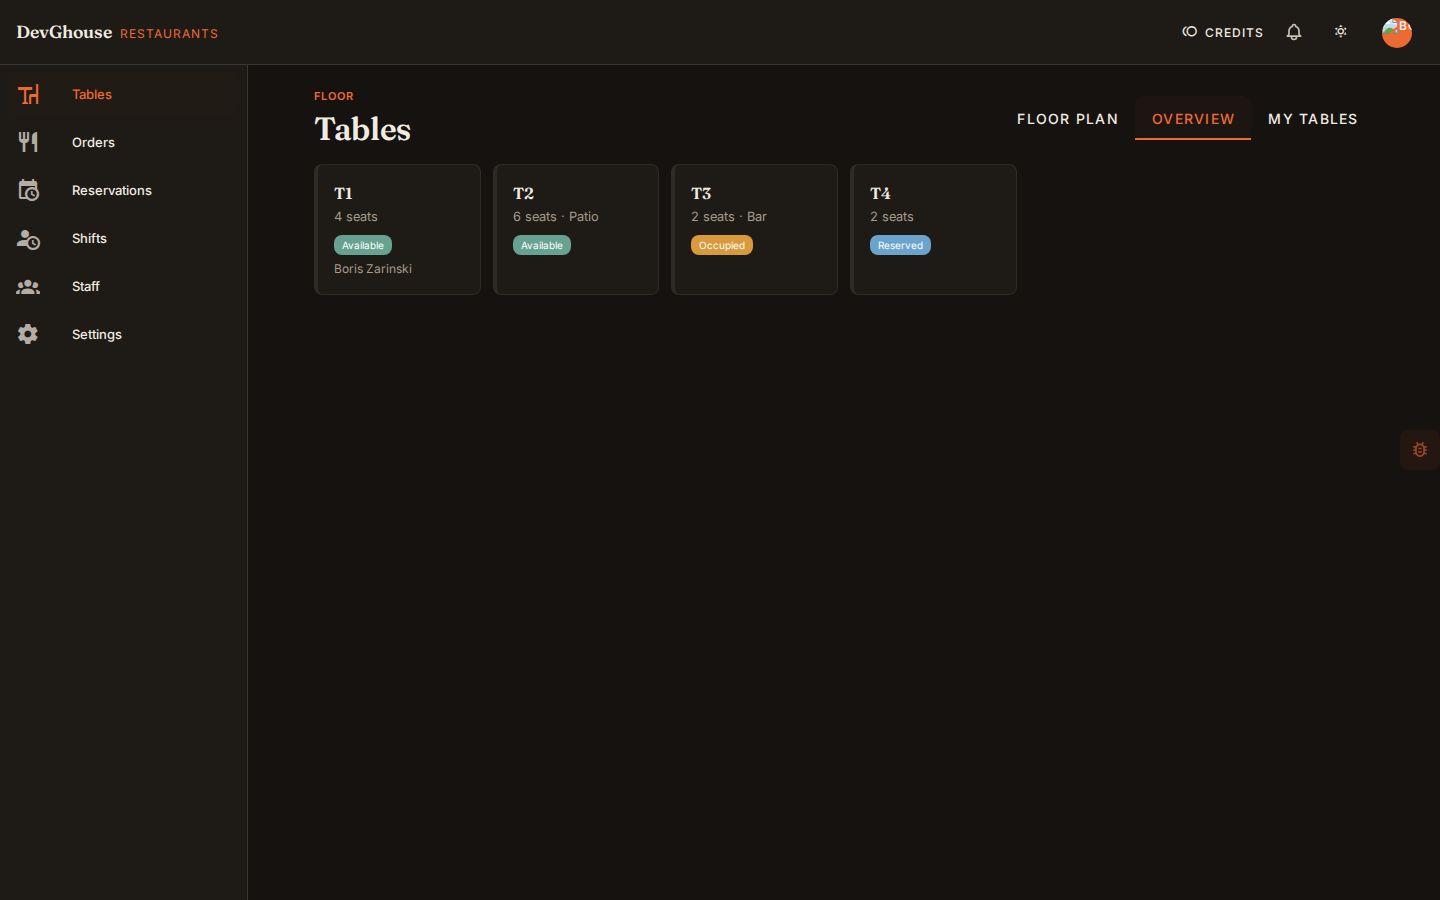
Switch to Overview for a simple grid of every table, its capacity, zone, and current status, including who it's assigned to. This view is handy on a phone or a smaller screen.
My Tables shows only the tables assigned to you for your current shift, so a waiter can find their own section without scanning the whole floor. Click any table in either view to jump to its orders.