Writing and publishing a post
The post editor has three tabs: Content, SEO and Settings. You do not need to touch SEO or Settings to publish; Content and a home are enough.
Content tab
This is where you write. Drop a cover image at the top (or click to upload one), type your title, write an optional excerpt, and write the body in the rich text box below it. Switch to HTML Source if you want to paste in ready-made HTML instead of typing.
SEO tab
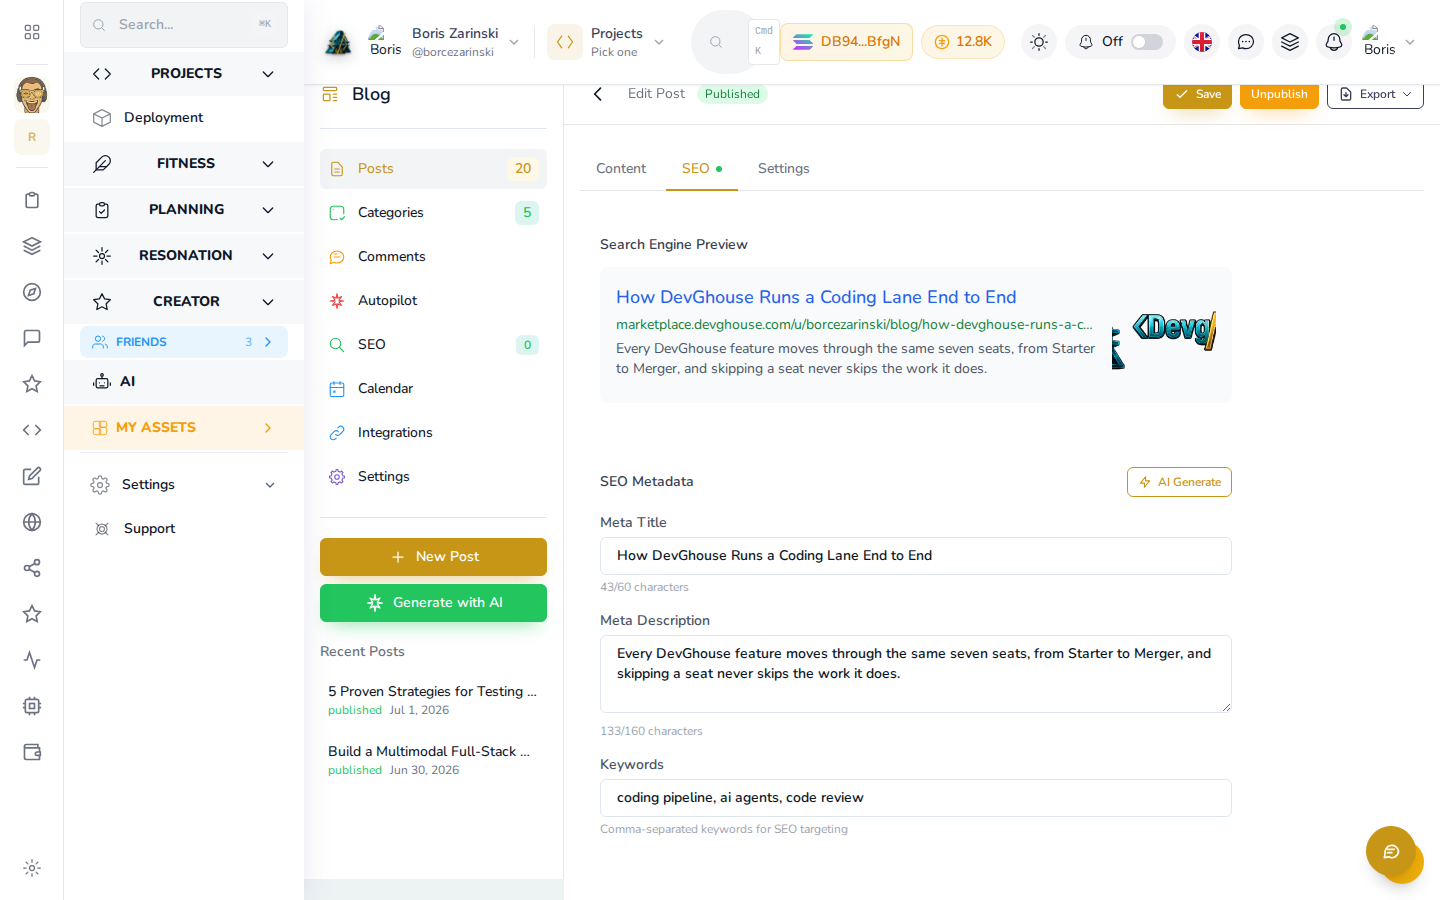
This tab shows how your post will look in a search result, and lets you set:
- Meta Title: the clickable headline in search results (keep it under 60 characters).
- Meta Description: the one or two lines under the title (150 to 160 characters is the sweet spot).
- Keywords: a comma-separated list of the terms you want the post to be found for.
None of this is required. If you leave it blank, the post's own title and excerpt are used instead.
Settings tab
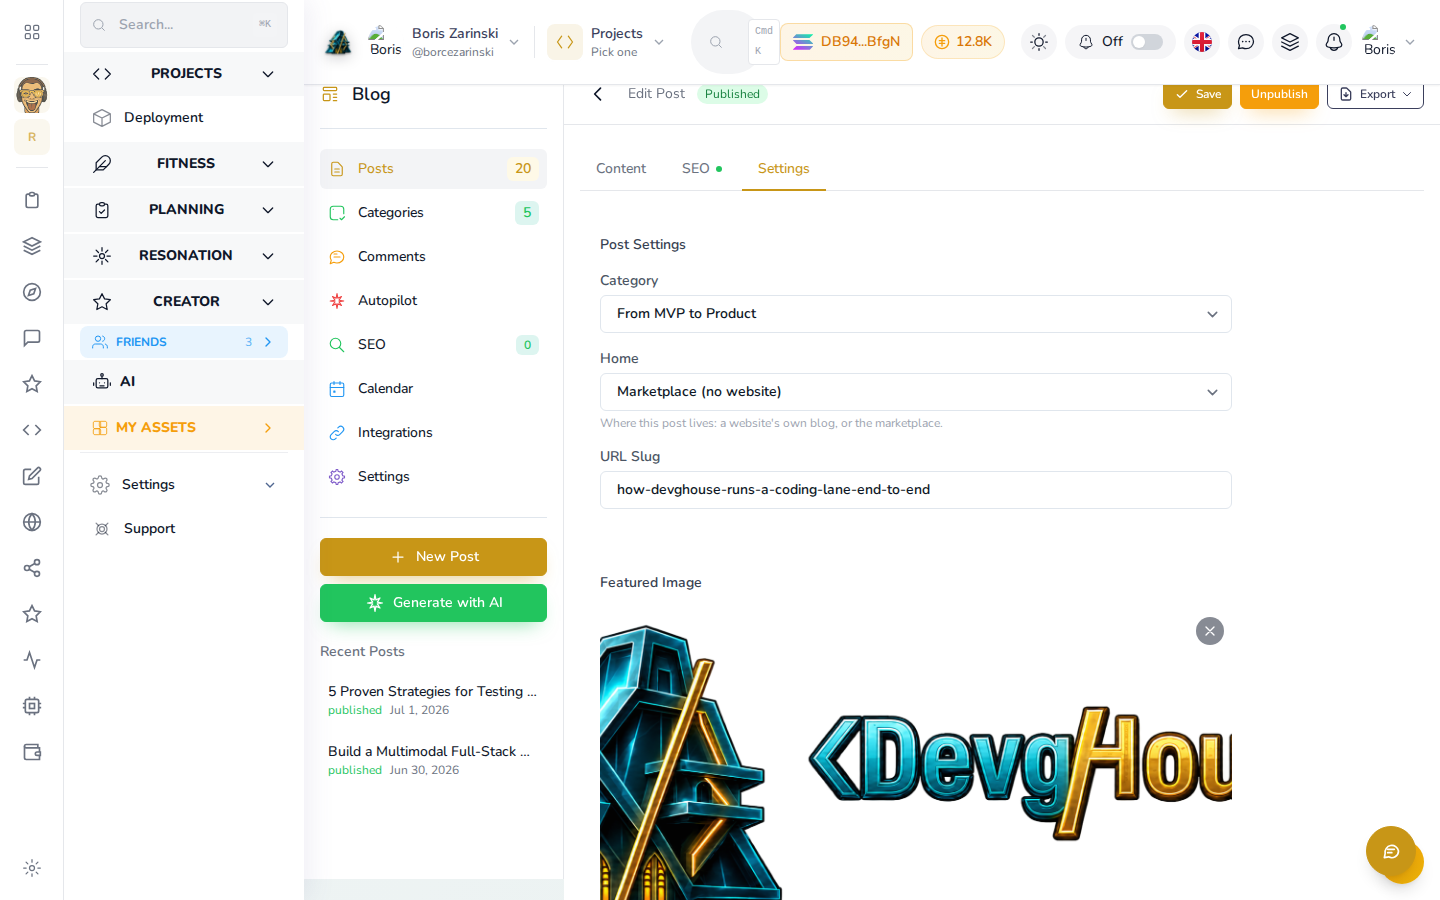
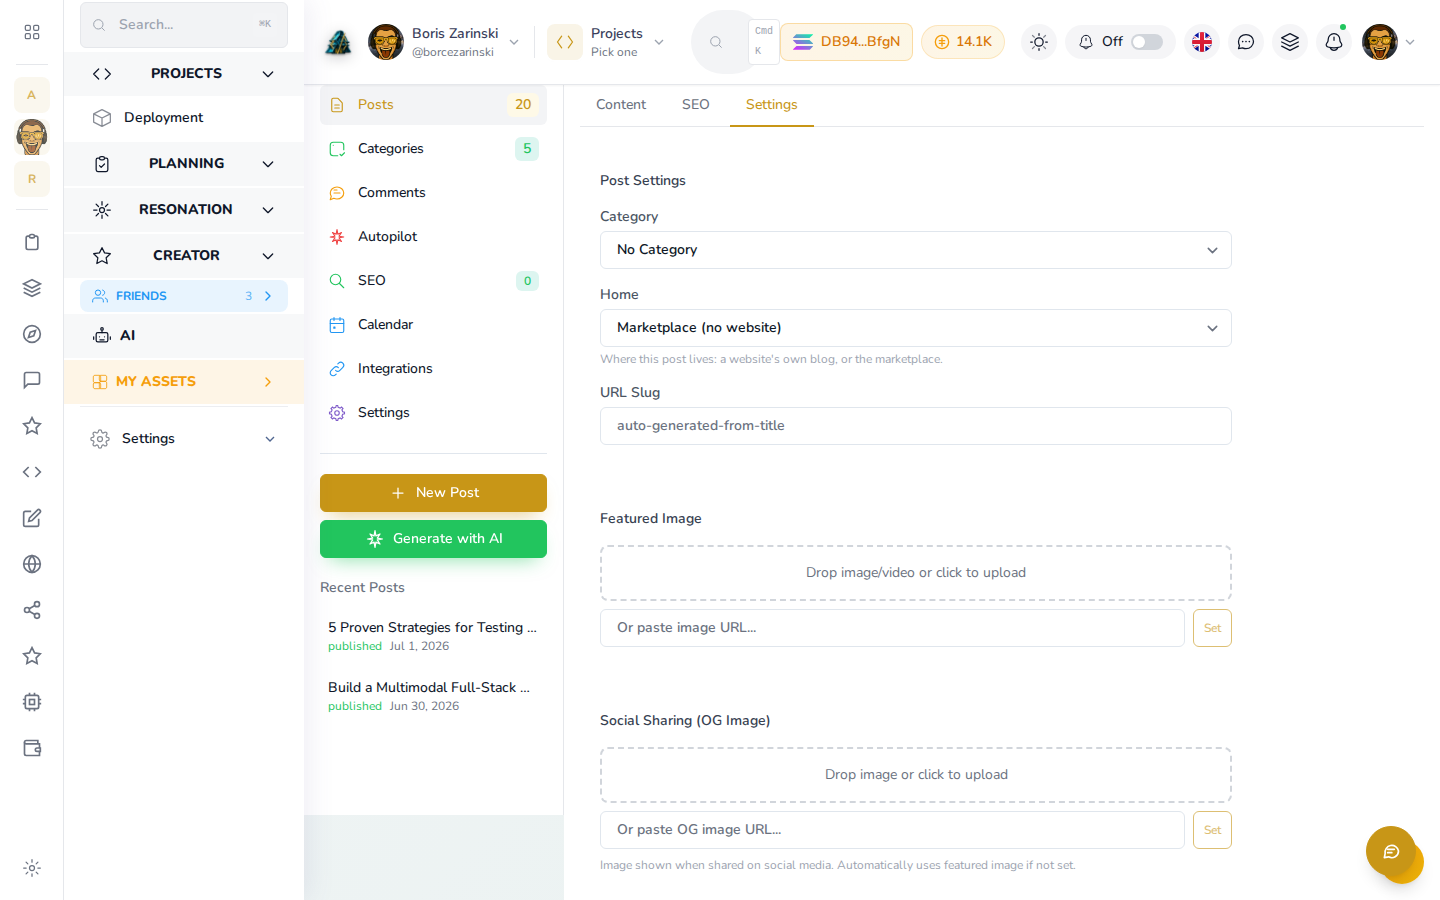
- Category: an optional grouping. See Categories to create one.
- Home: the website's blog (or Marketplace) this post belongs to. Required before you can save.
- URL Slug: the last part of the post's web address. It fills in from the title automatically; edit it if you want a shorter or different one.
- Featured Image and Social Sharing (OG) Image: the picture shown on the blog's homepage and when the post is shared on social media.
- Allow Comments: on by default. See Reading and sharing for what this does today.
- Share on Twitter/X: once the post is saved, a Tweet This Post button here posts a tweet thread with the post's key points, its link and its featured image. See Integrations for connecting X and shaping that thread.
Saving, publishing and unpublishing
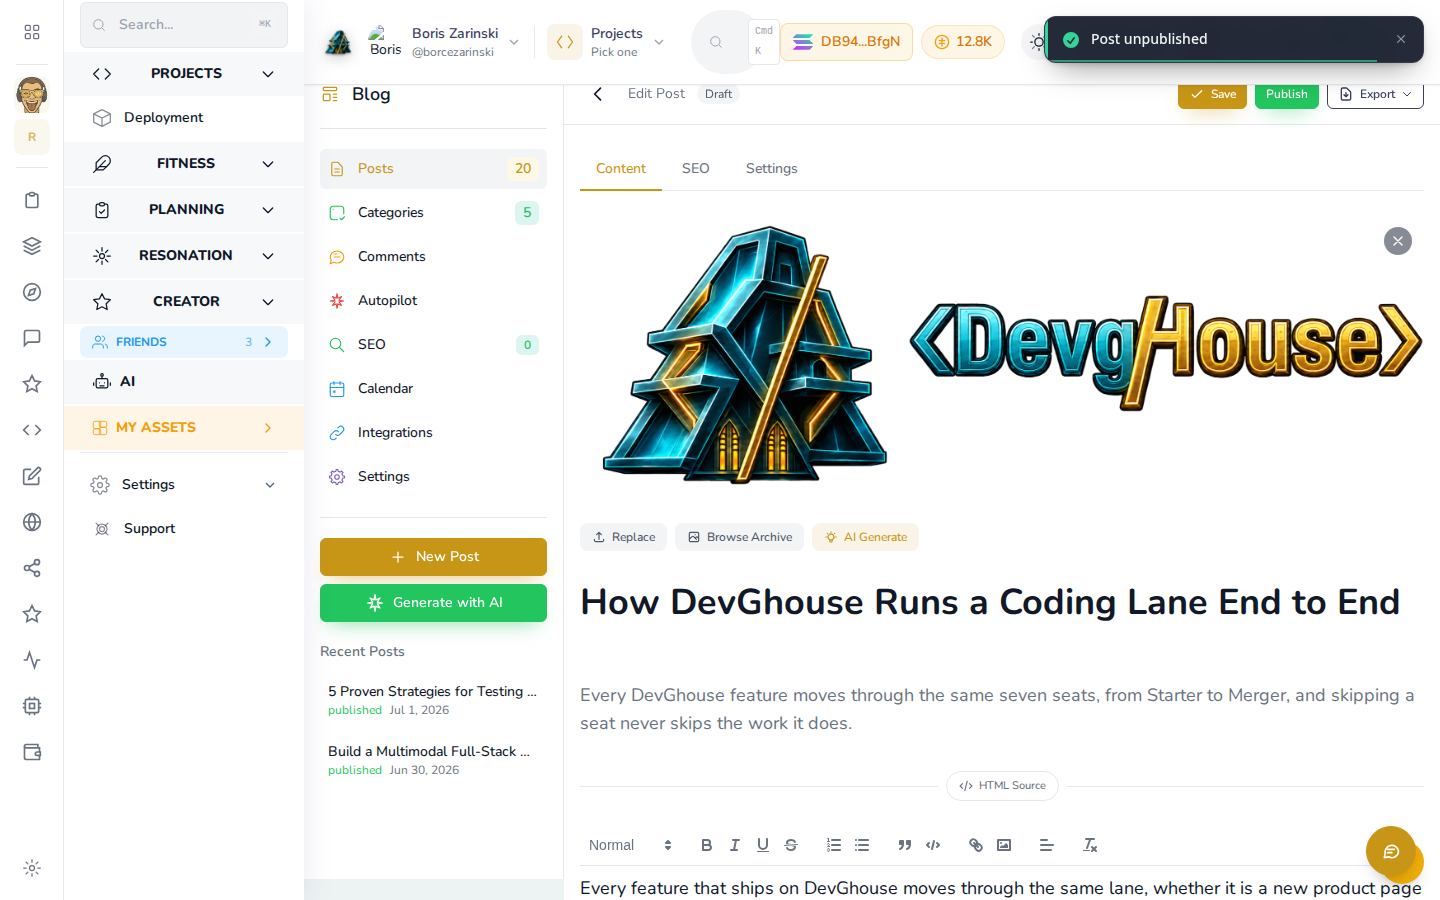
- Save stores your changes. A new post becomes a draft the first time you save it.
- Publish makes a draft visible on the public blog immediately, no review step and no waiting.
- Unpublish takes a published post back to draft. The post is not deleted; it is just hidden until you publish it again.
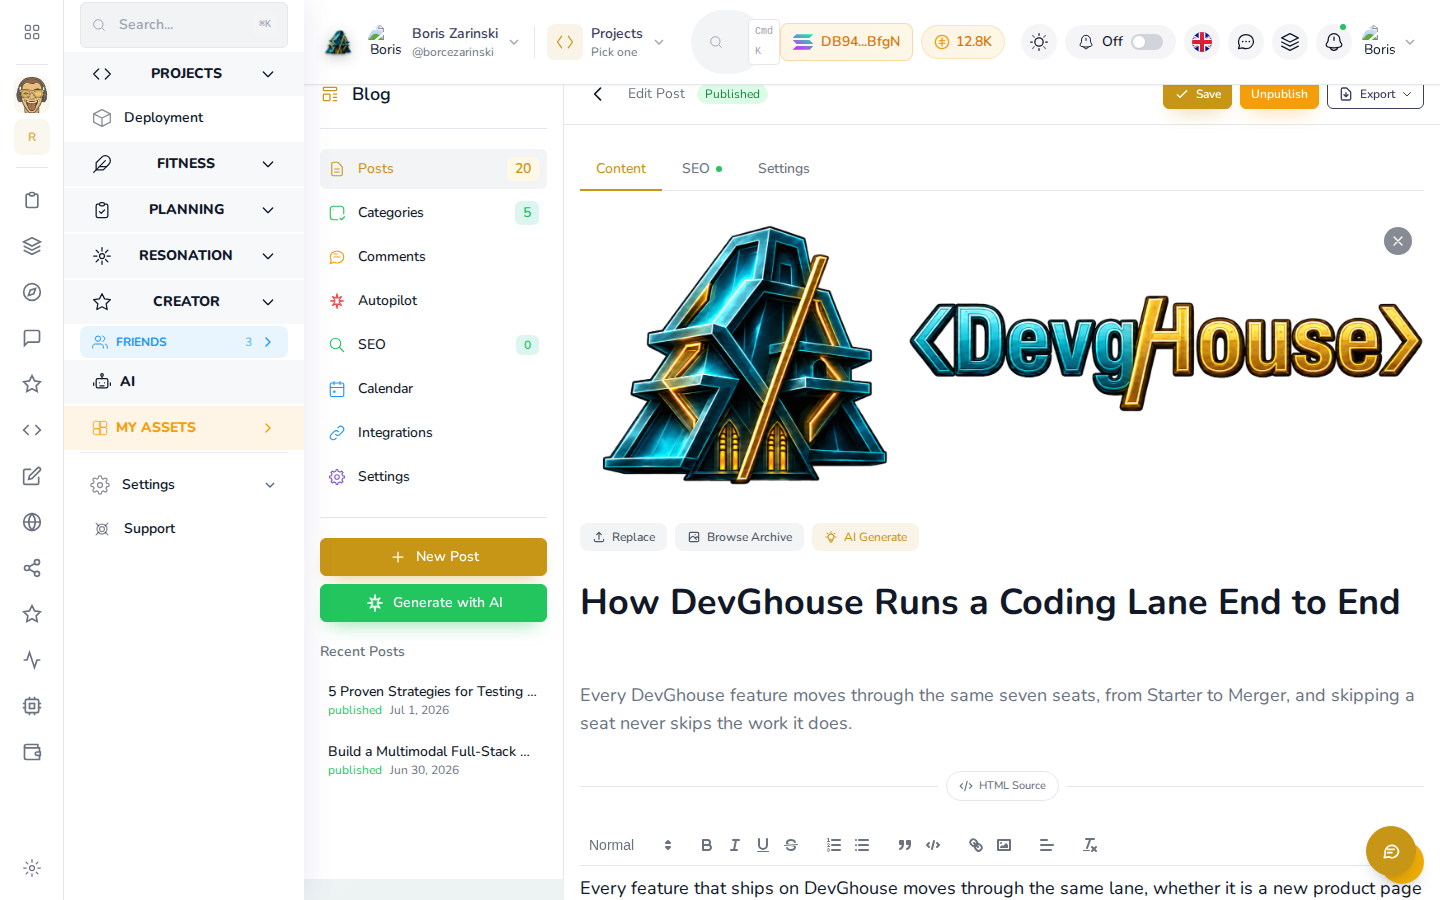
Export
Once a post exists, the Export menu next to Publish/Unpublish lets you download it as HTML or Markdown, or copy it to your clipboard, useful if you want a copy outside DevGhouse.
Managing your posts
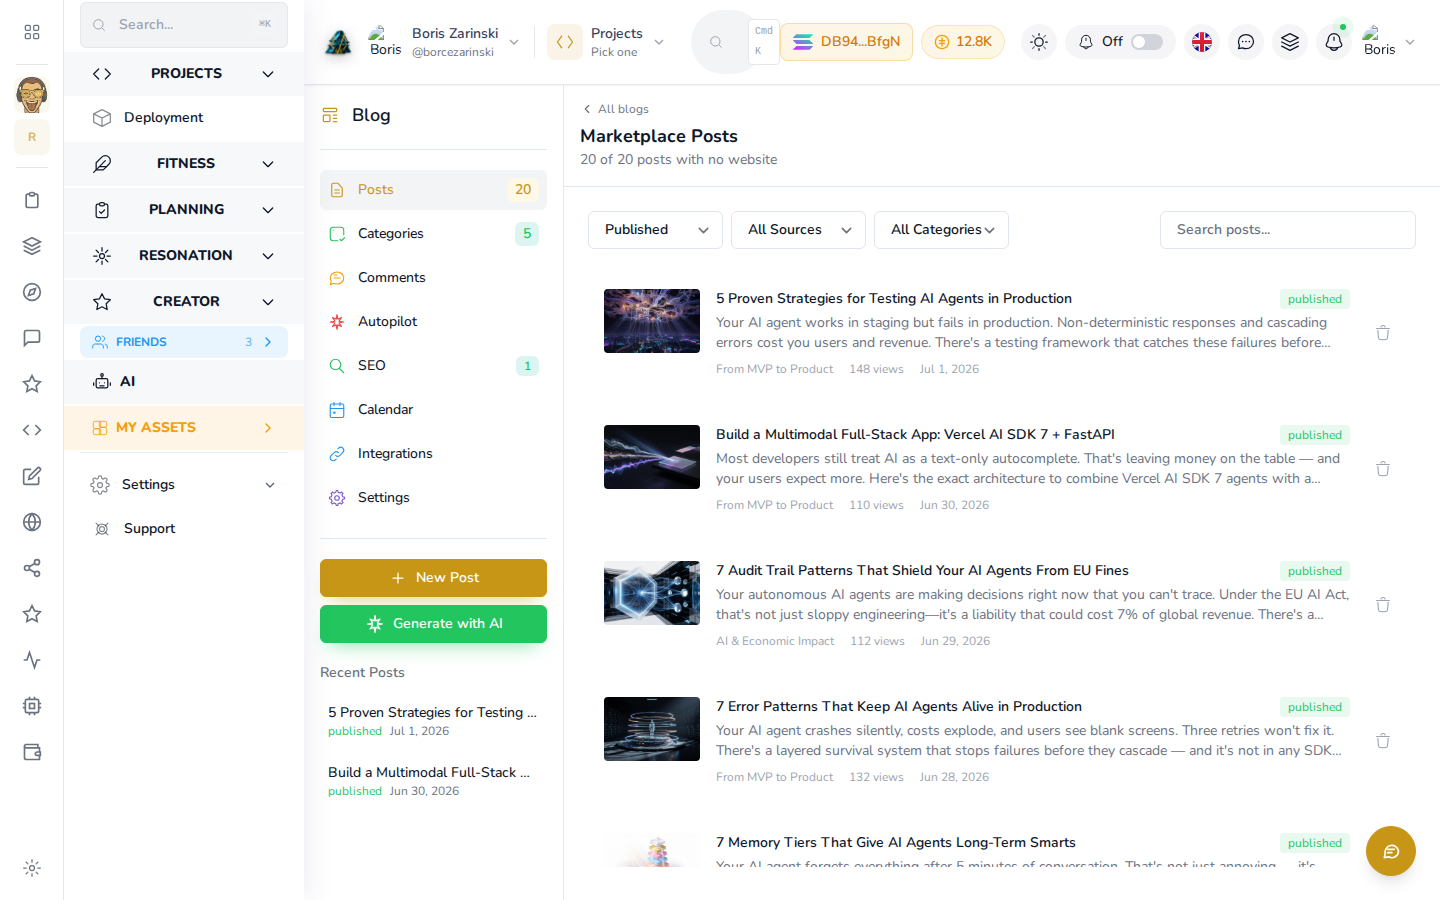
Open a website's card (or Marketplace) from the Blog screen to see every post that lives there. Use the All Status, All Sources and All Categories filters to narrow the list, or search by title. Click a post's title to reopen it in the editor; the trash icon on the right deletes it.